No edit summary |
No edit summary |
||
| (5 intermediate revisions by one other user not shown) | |||
| Line 1: | Line 1: | ||
== How to install Aeolus-GUI == | == How to install Aeolus-GUI == | ||
Aeolus is a cloud management platform for Fedora. With Aeolus, you can run and deploy virtual machines locally as well as with cloud service providers. Aeolus is free and open source, | Aeolus is a cloud management platform for Fedora. With Aeolus, you can run and deploy virtual machines locally as well as with cloud service providers. Aeolus is free and open source, mostly written in the language Ruby. For more information about the aeolus project, visit [http://www.aeolusproject.org/]. It should be noted that Aeolus is made up of many different individual applications - conductor, recipe, etc. | ||
Aeolus-GUI is a graphical desktop client that makes it more familiar to use. Github repository: [https://github.com/niteshnarayanlal/Aeolus-gui] | |||
=== Step 1. Install Aeolus === | === Step 1. Install Aeolus === | ||
| Line 9: | Line 11: | ||
If you haven’t insalled aeolus, type in the following terminal command: | If you haven’t insalled aeolus, type in the following terminal command: | ||
*sudo yum install aeolus-all | |||
Follow all on-screen prompts - such as entering your password, typing Y and then enter to confirm the installations.. | Follow all on-screen prompts - such as entering your password, typing Y and then enter to confirm the installations.. | ||
| Line 17: | Line 19: | ||
After installing Aeolus successfully, type in the following command: | After installing Aeolus successfully, type in the following command: | ||
*sudo aeolus-configure | |||
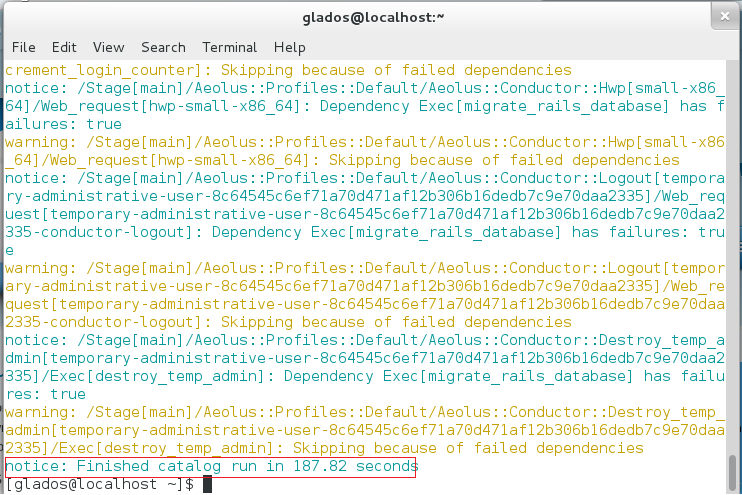
This is the Aeolous Recipe. It configures Aeolus with a set of default settings, and sets it up so it can be used with Amazon EC2. No user input is required, and you will get quite a bit of text output which is normal. | This is the Aeolous Recipe. It configures Aeolus with a set of default settings, and sets it up so it can be used with Amazon EC2. No user input is required, and you will get quite a bit of text output which is normal. | ||
| Line 27: | Line 29: | ||
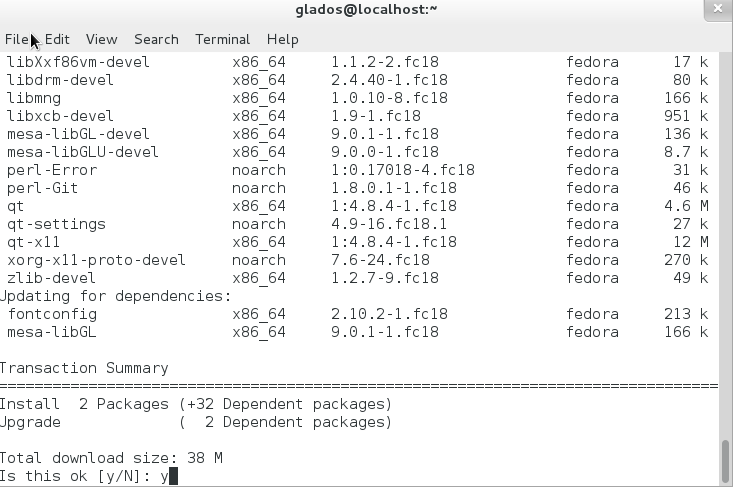
Aeolus-gui currently requires git (this is used to clone the source of aeolus-gui) and qt-devel/qt-creator (Qt is a graphical UI framework). Install those two with the following command: | Aeolus-gui currently requires git (this is used to clone the source of aeolus-gui) and qt-devel/qt-creator (Qt is a graphical UI framework). Install those two with the following command: | ||
*sudo yum install git qt-devel qt-creator | |||
[[File:Aeolus-GUI-Documentation-2.png]] | [[File:Aeolus-GUI-Documentation-2.png]] | ||
| Line 33: | Line 35: | ||
After installing the dependencies, use git to clone the latest source: | After installing the dependencies, use git to clone the latest source: | ||
*git clone http://github.com/niteshnarayanlal/Aeolus-gui.git | |||
[[File:Aeolus-GUI-Documentation-3.png]] | [[File:Aeolus-GUI-Documentation-3.png]] | ||
| Line 39: | Line 41: | ||
This will create a folder called Aeolus-gui. Navigate to that folder with the cd command. | This will create a folder called Aeolus-gui. Navigate to that folder with the cd command. | ||
*cd Aeolus-gui | |||
Also, if you don't have gcc-c++ then you'll need to install that too: | Also, if you don't have gcc-c++ then you'll need to install that too: | ||
*yum install gcc-c++ | |||
This is so you can compile c++ code. Next, run the following commands: | This is so you can compile c++ code. Next, run the following commands: | ||
*qmake-qt4 *.pro | |||
*make | |||
If make returns with no errors, continue to step 4. | If make returns with no errors, continue to step 4. qmake-qt4 has no console output. | ||
=== Step 4. Launching Aeolus-gui === | === Step 4. Launching Aeolus-gui === | ||
| Line 57: | Line 59: | ||
[[File:Aeolus-GUI-Documentation-4.png]] | [[File:Aeolus-GUI-Documentation-4.png]] | ||
[[File:Aeolus-GUI-Documentation-5.png]] | |||
The default username and password is '''admin''' and '''password'''. | |||
Latest revision as of 12:21, 12 December 2012
How to install Aeolus-GUI
Aeolus is a cloud management platform for Fedora. With Aeolus, you can run and deploy virtual machines locally as well as with cloud service providers. Aeolus is free and open source, mostly written in the language Ruby. For more information about the aeolus project, visit [1]. It should be noted that Aeolus is made up of many different individual applications - conductor, recipe, etc.
Aeolus-GUI is a graphical desktop client that makes it more familiar to use. Github repository: [2]
Step 1. Install Aeolus
Aeolus-GUI currently requires a local instance of the Aeolus conductor. Remote support is not supported yet.
If you haven’t insalled aeolus, type in the following terminal command:
- sudo yum install aeolus-all
Follow all on-screen prompts - such as entering your password, typing Y and then enter to confirm the installations..
Step 2. Configure Aeolus
After installing Aeolus successfully, type in the following command:
- sudo aeolus-configure
This is the Aeolous Recipe. It configures Aeolus with a set of default settings, and sets it up so it can be used with Amazon EC2. No user input is required, and you will get quite a bit of text output which is normal.
Step 3. Building aeolus-gui
Aeolus-gui currently requires git (this is used to clone the source of aeolus-gui) and qt-devel/qt-creator (Qt is a graphical UI framework). Install those two with the following command:
- sudo yum install git qt-devel qt-creator
After installing the dependencies, use git to clone the latest source:
This will create a folder called Aeolus-gui. Navigate to that folder with the cd command.
- cd Aeolus-gui
Also, if you don't have gcc-c++ then you'll need to install that too:
- yum install gcc-c++
This is so you can compile c++ code. Next, run the following commands:
- qmake-qt4 *.pro
- make
If make returns with no errors, continue to step 4. qmake-qt4 has no console output.
Step 4. Launching Aeolus-gui
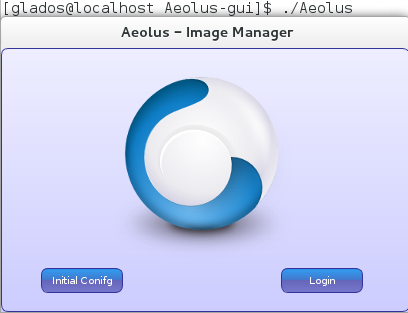
You're almost there! Just type in ./Aeolus (in the same directory) to launch it.
The default username and password is admin and password.


