No edit summary |
|||
| (7 intermediate revisions by 3 users not shown) | |||
| Line 20: | Line 20: | ||
</ul> | </ul> | ||
==Installation== | ==Installation== | ||
Download Android Studio | Download the latest version of Android Studio from the [https://developer.android.com/sdk/index.html official sources]. | ||
It comes with the following:<br> | It comes with the following:<br> | ||
<ul> | <ul> | ||
<li>Android Studio IDE</li> | <li>Android Studio IDE</li> | ||
<li>Android SDK tools</li> | <li>Android SDK tools</li> | ||
<li>Android | <li>Android 10.0 (Q) Platform</li> | ||
<li>Android | <li>Android 10.0 emulator system image with Google APIs</li> | ||
</ul> | </ul> | ||
After you have downloaded the | After you have downloaded the <code>*.tar.gz</code> file from the above source, unpack the file to an appropriate location.<br> | ||
Suppose it has been unpacked to some location <code>~/android-studio</code><br> | Suppose it has been unpacked to some location <code>~/android-studio</code><br> | ||
Open a terminal window and go to <code>~/android-studio/bin</code><br> | Open a terminal window and go to <code>~/android-studio/bin</code><br> | ||
Execute the file <code>studio.sh</code> by running the following command<br> | Execute the file <code>studio.sh</code> by running the following command<br> | ||
<pre> | <pre> | ||
./studio.sh | |||
</pre> | </pre> | ||
The libraries are installed. Android Studio starts up and a screen as below shows up. | |||
Android Studio Setup Wizard starts up and a screen as below shows up: | |||
[[File:Android-studio-setup-wizard-01.png]] | |||
Follow the steps of the wizard. It must download some components: | |||
[[File:Android-studio-setup-wizard-02.png]] | |||
The libraries are installed. | |||
[[File:Android-studio-setup-wizard-03.png]] | |||
Android Studio starts up and a screen as below shows up: | |||
[[File:Android-studio-startup.png]] | |||
== Building a simple Application == | |||
Select new project. The following screen shows up: | |||
[[File:Android-studio-create-new-project-01.png]] | |||
Select your preferred template and proceed to the next screen: | |||
[[image:Studio-setup-1.png]] | |||
Latest revision as of 12:46, 27 September 2019
Abstract
This page should provide "how-to" document about using Fedora Linux for developing applications for Android platform using Android Studio.
This document will cover requirements, installation, how to build a simple application and how to use Android Emulator or real devices for testing applications.
Target Fedora version
F-20 and higher
Requirements
- GNOME or KDE desktop
- GNU C Library (glibc) 2.15 or later
- 2 GB RAM minimum, 4 GB RAM recommended
- 400 MB hard disk space
- At least 1 GB for Android SDK, emulator system images, and caches
- 1280 x 800 minimum screen resolution
- Oracle® Java Development Kit (JDK) 7 (open jdk also works but not fully tested yet)
Installation
Download the latest version of Android Studio from the official sources.
It comes with the following:
- Android Studio IDE
- Android SDK tools
- Android 10.0 (Q) Platform
- Android 10.0 emulator system image with Google APIs
After you have downloaded the *.tar.gz file from the above source, unpack the file to an appropriate location.
Suppose it has been unpacked to some location ~/android-studio
Open a terminal window and go to ~/android-studio/bin
Execute the file studio.sh by running the following command
./studio.sh
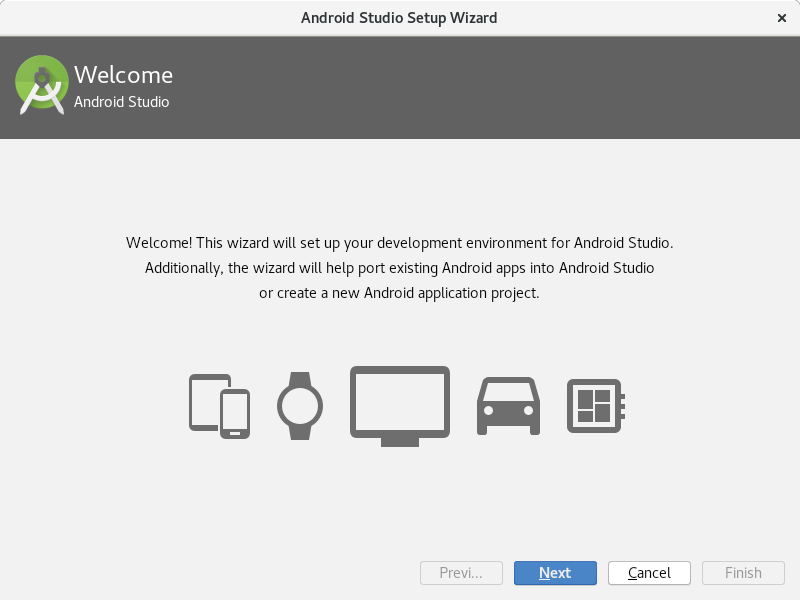
Android Studio Setup Wizard starts up and a screen as below shows up:
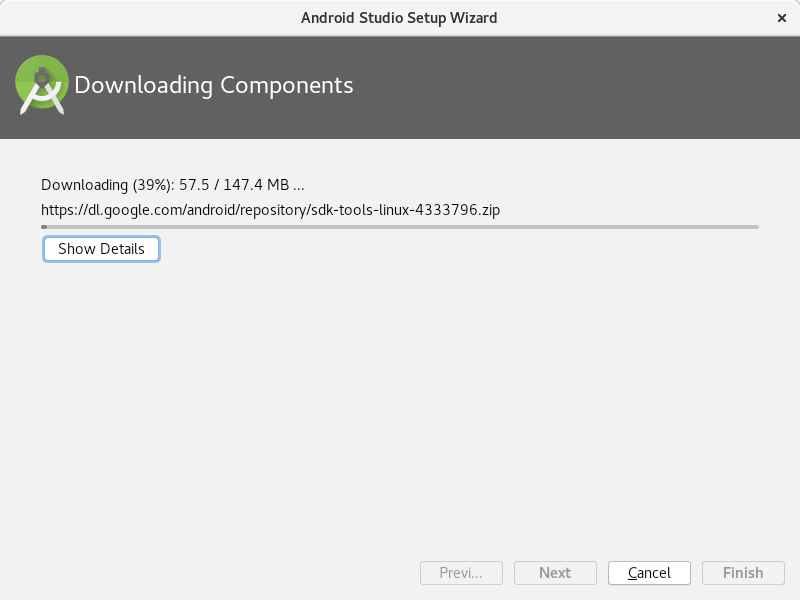
Follow the steps of the wizard. It must download some components:
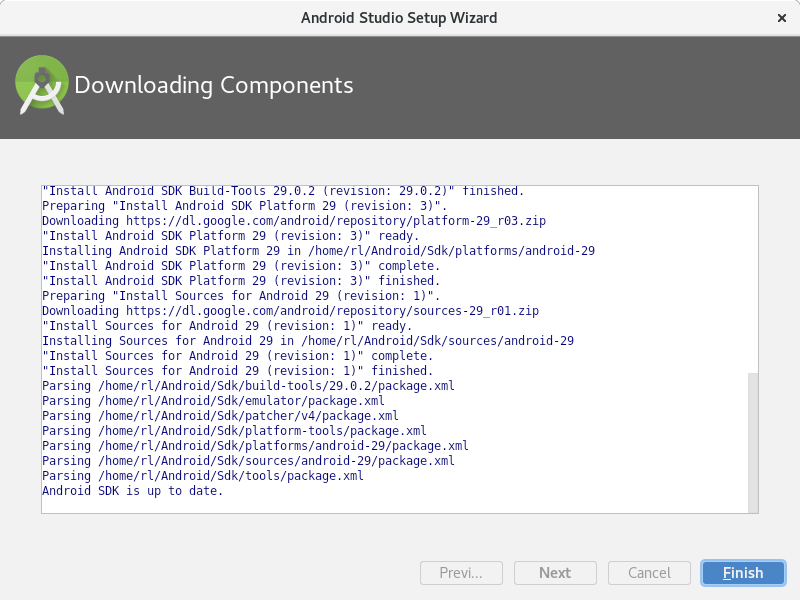
The libraries are installed.
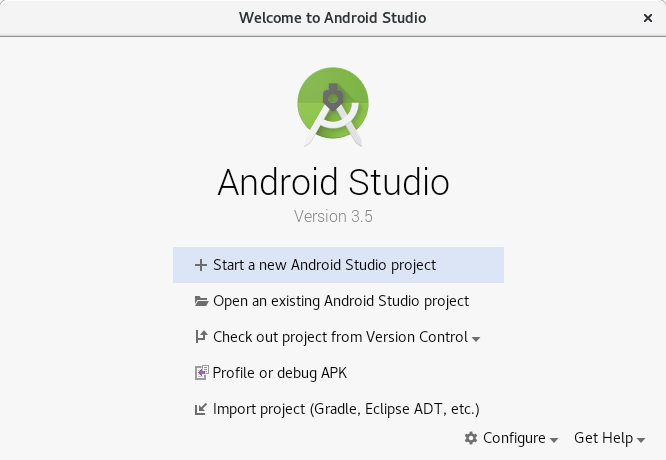
Android Studio starts up and a screen as below shows up:
Building a simple Application
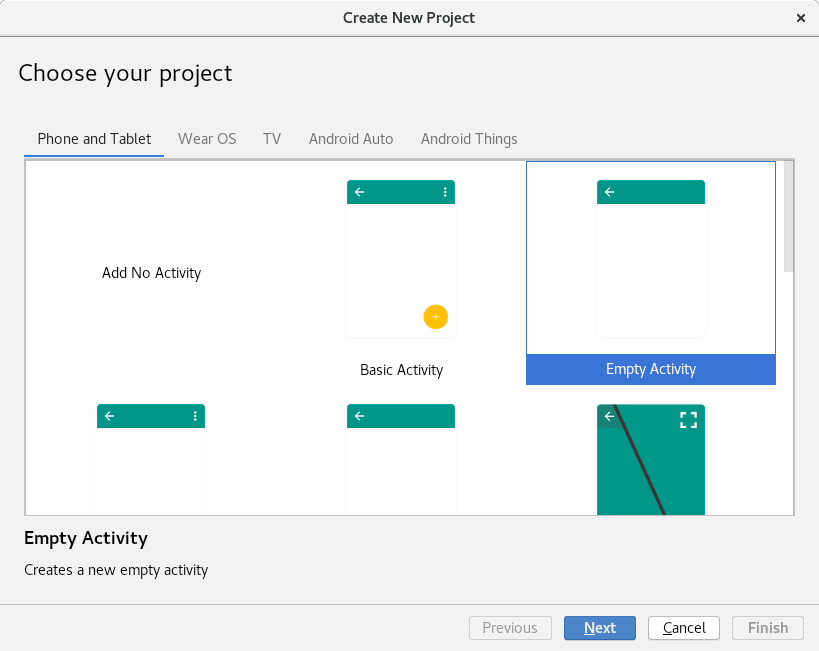
Select new project. The following screen shows up:
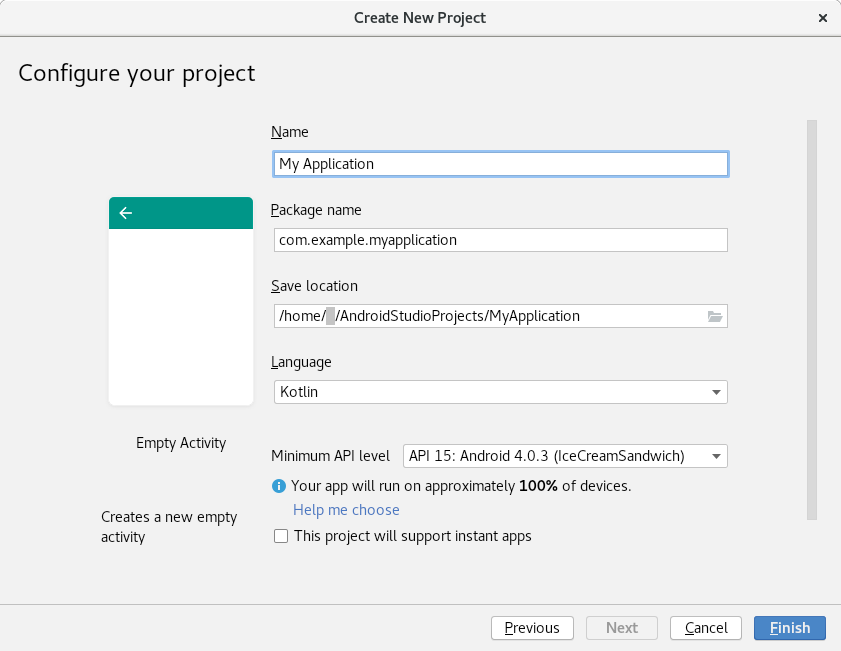
Select your preferred template and proceed to the next screen:

