m (→Tinker!) |
No edit summary |
||
| Line 67: | Line 67: | ||
SD card | SD card | ||
Monitor HDMI cable | Monitor HDMI cable(or Monitor VGA cable + HDMI to VGA box) | ||
USB keyboard | USB keyboard | ||
USB mouse | USB mouse | ||
Ethernet cable | Ethernet cable | ||
[[File:Cubie hardware.jpg]] | |||
Next, turn on the monitor, and if necessary, the keyboard and mouse. | Next, turn on the monitor, and if necessary, the keyboard and mouse. | ||
| Line 90: | Line 91: | ||
* Create a user account (add the user to administrators group). | * Create a user account (add the user to administrators group). | ||
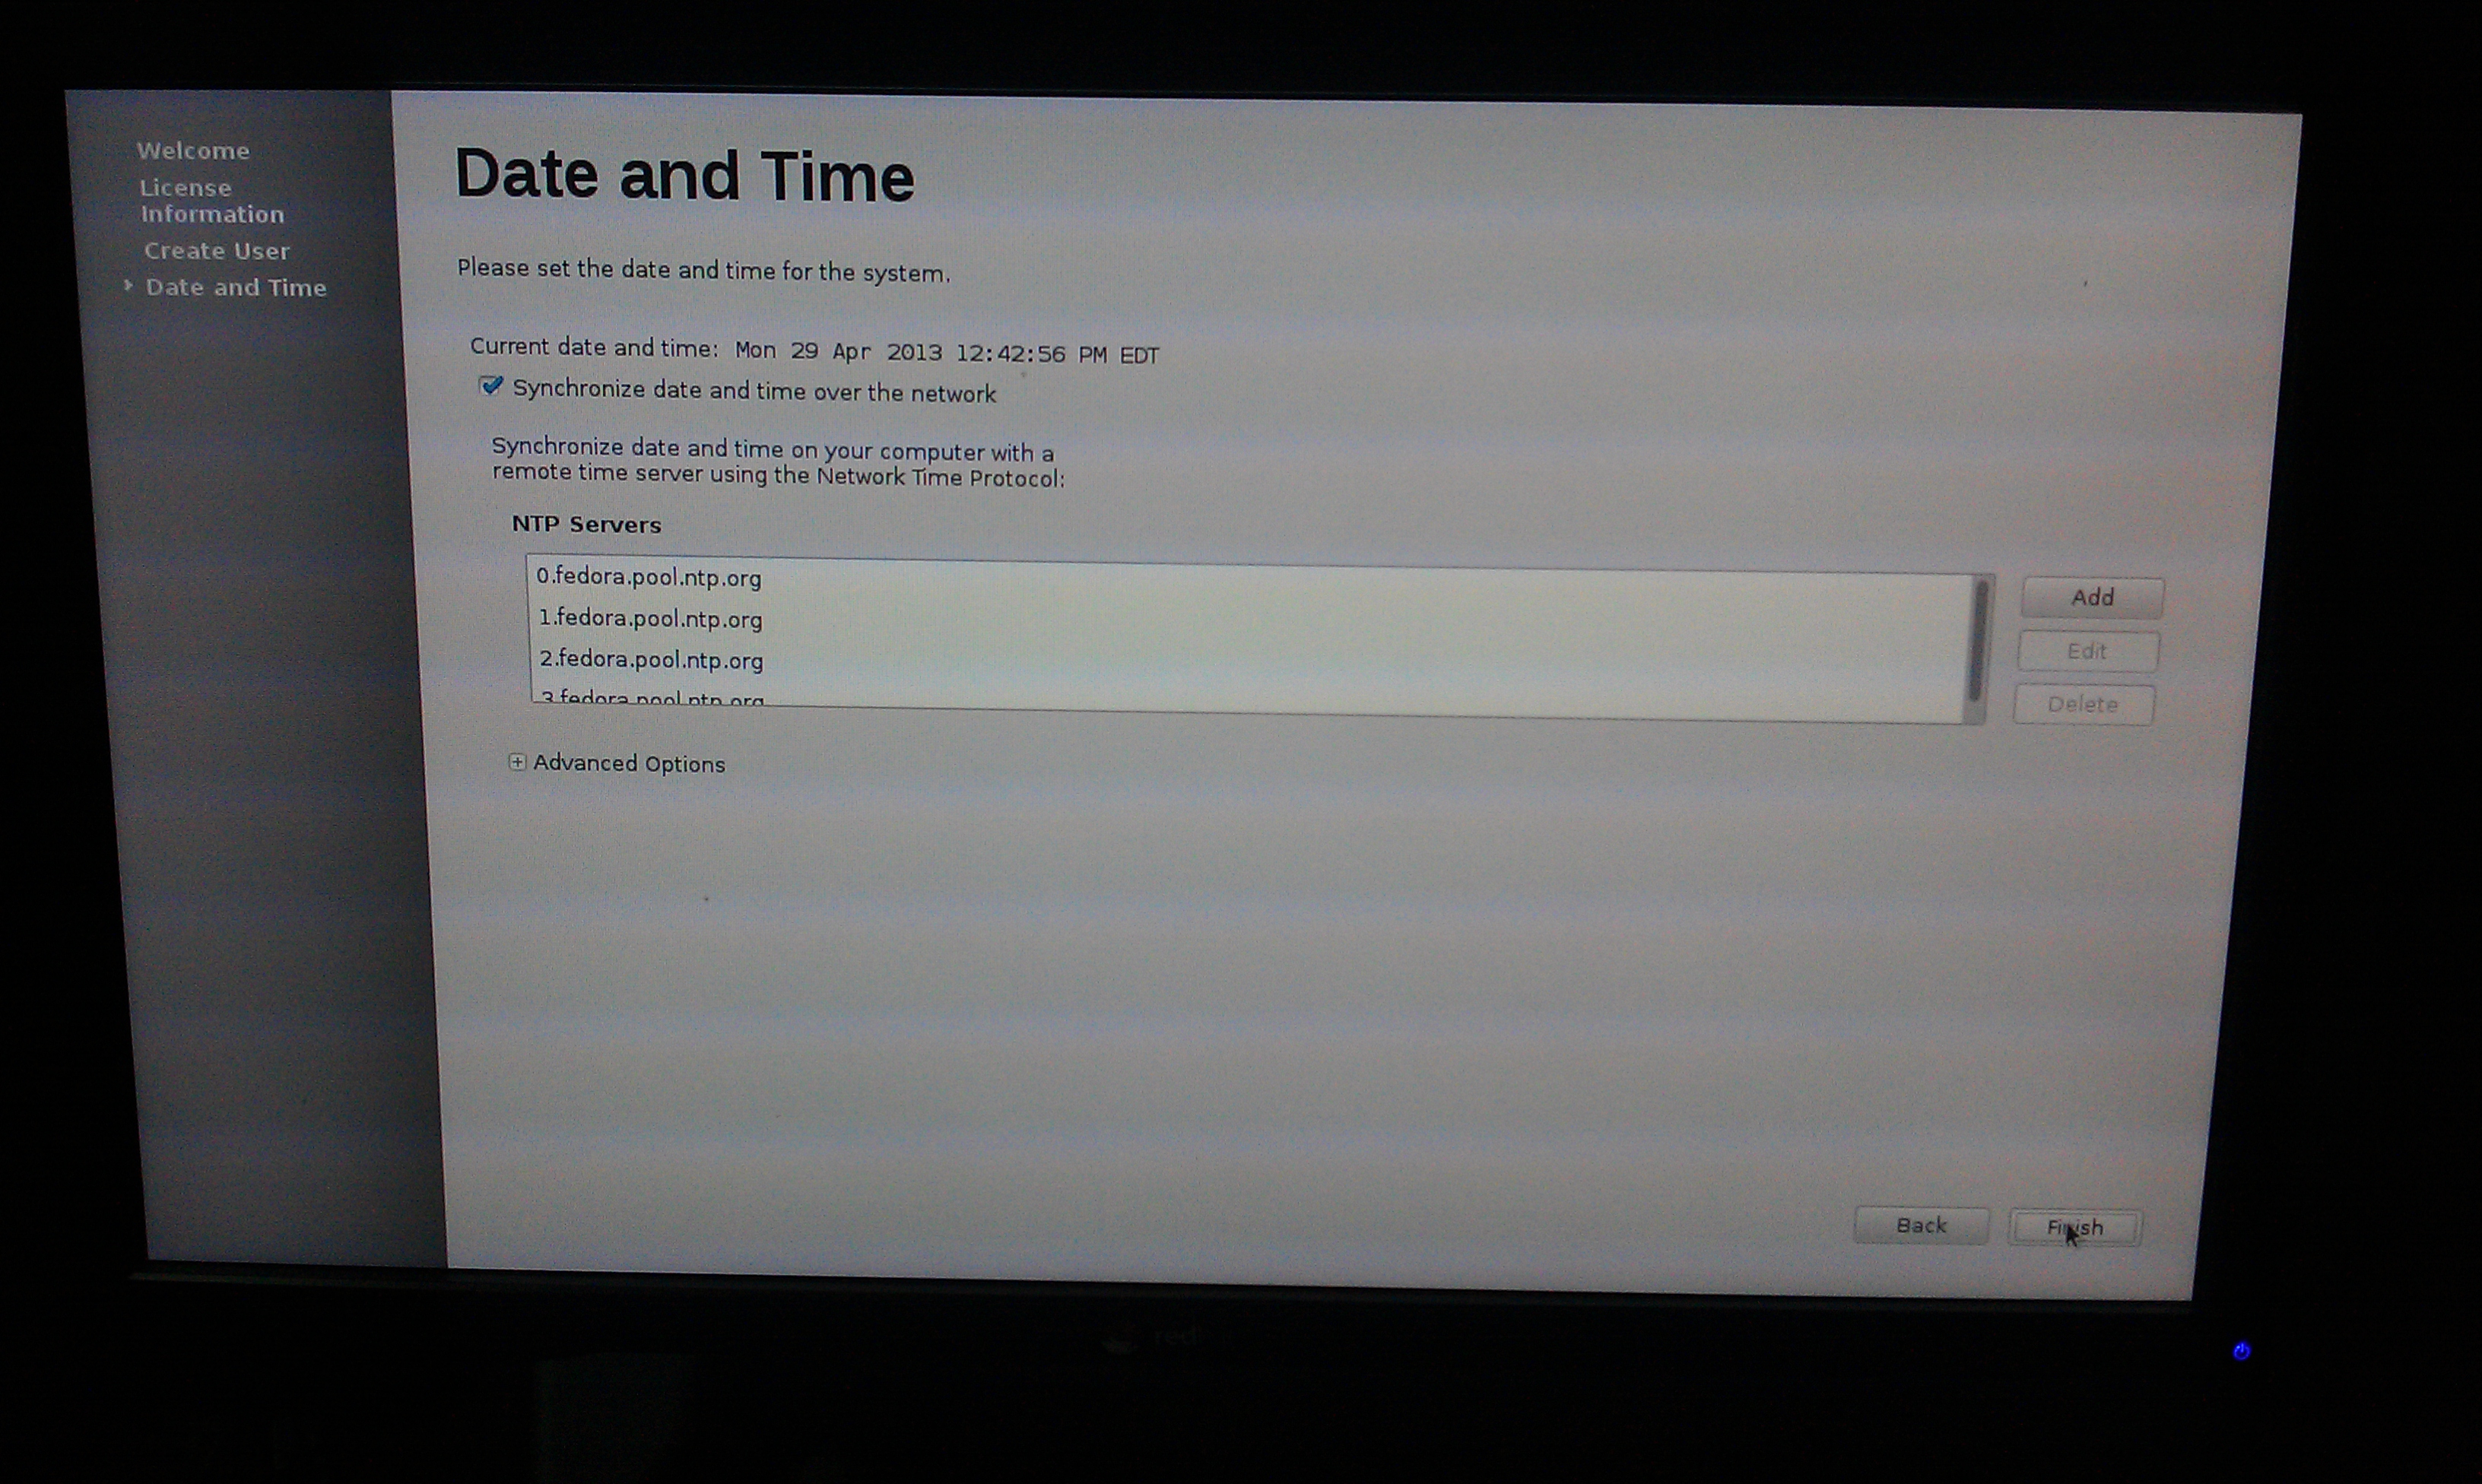
== Fedora Remix create system settings boot screen == | == Fedora Remix create system settings boot screen == | ||
[[File:Cubie Remix first boot.jpg]] | |||
[[File:Cubie Remix first boot License.jpg]] | |||
[[File:Cubie Remix first boot create user.jpg]] | |||
[[File:Cubie Remix first boot NTP.jpg]] | |||
[[File:Cubie Remix first boot NTP.jpg]] | |||
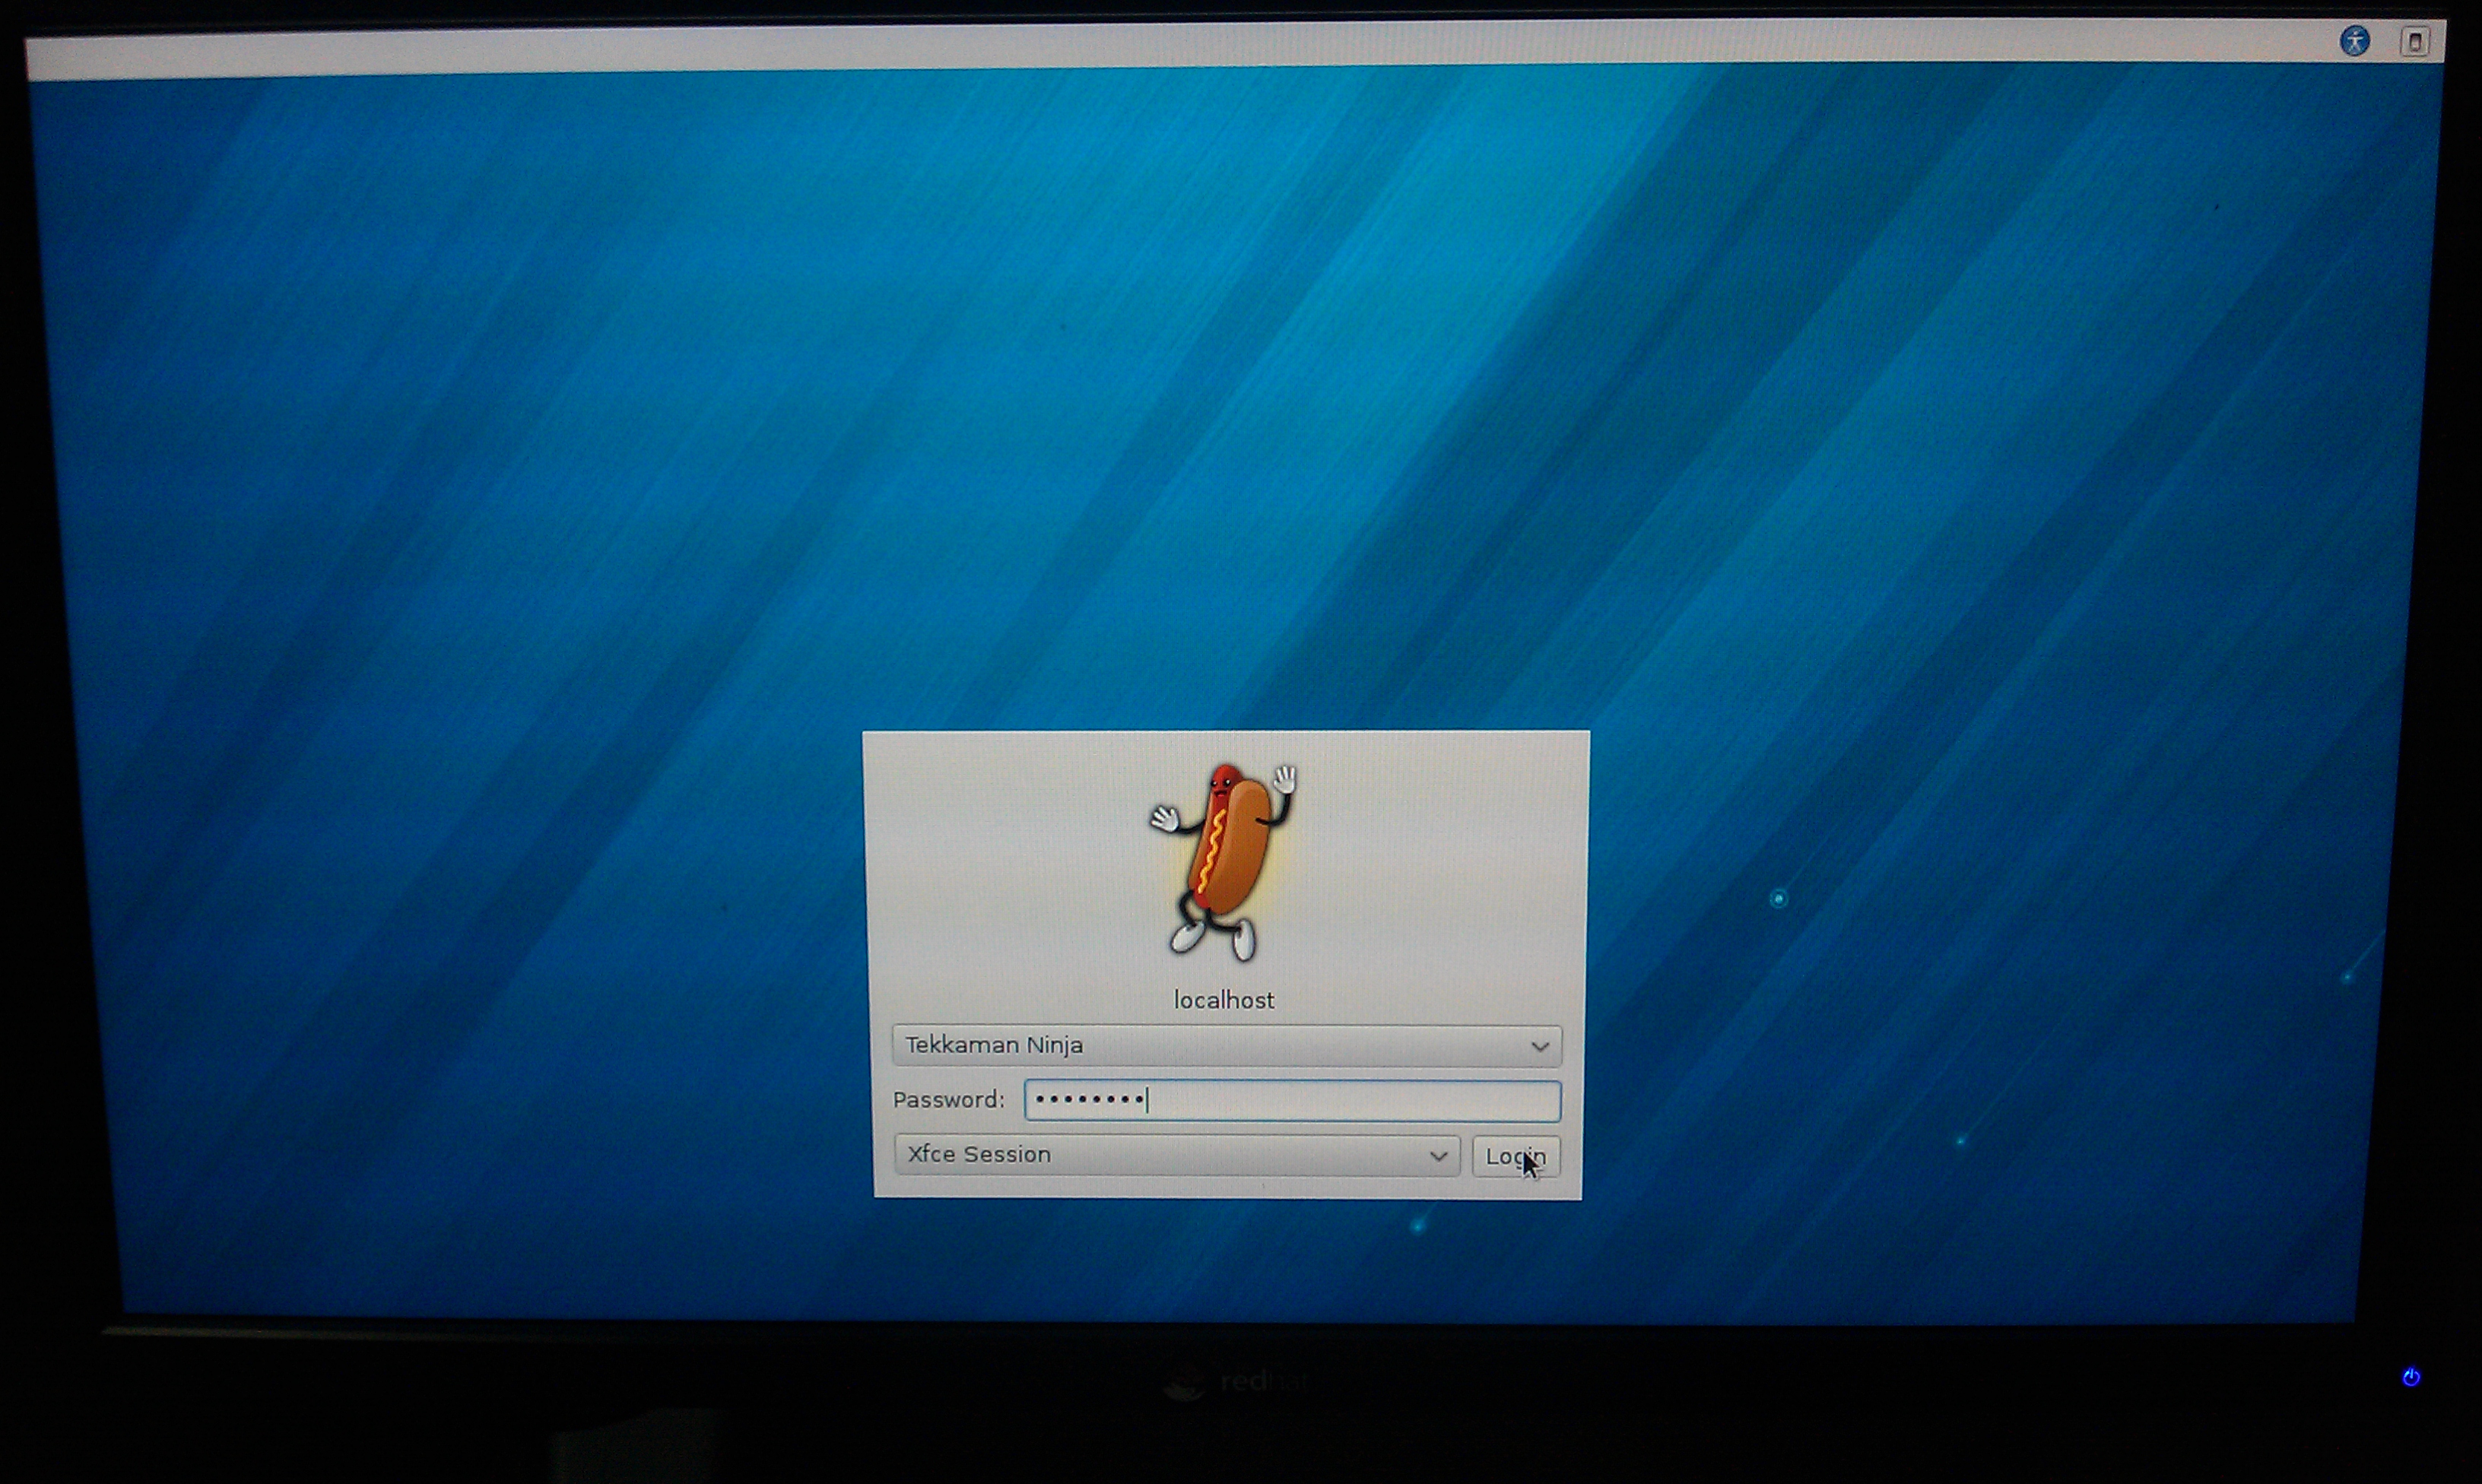
== Cubieboard XFCE desktop login == | == Cubieboard XFCE desktop login == | ||
After you’ve logged in (go check your email, this may take a moment as well), you’ll see the following dialog window. | After you’ve logged in (go check your email, this may take a moment as well. even we are using mali400), you’ll see the following dialog window. | ||
[[File:Cubie Remix Login.jpg]] | |||
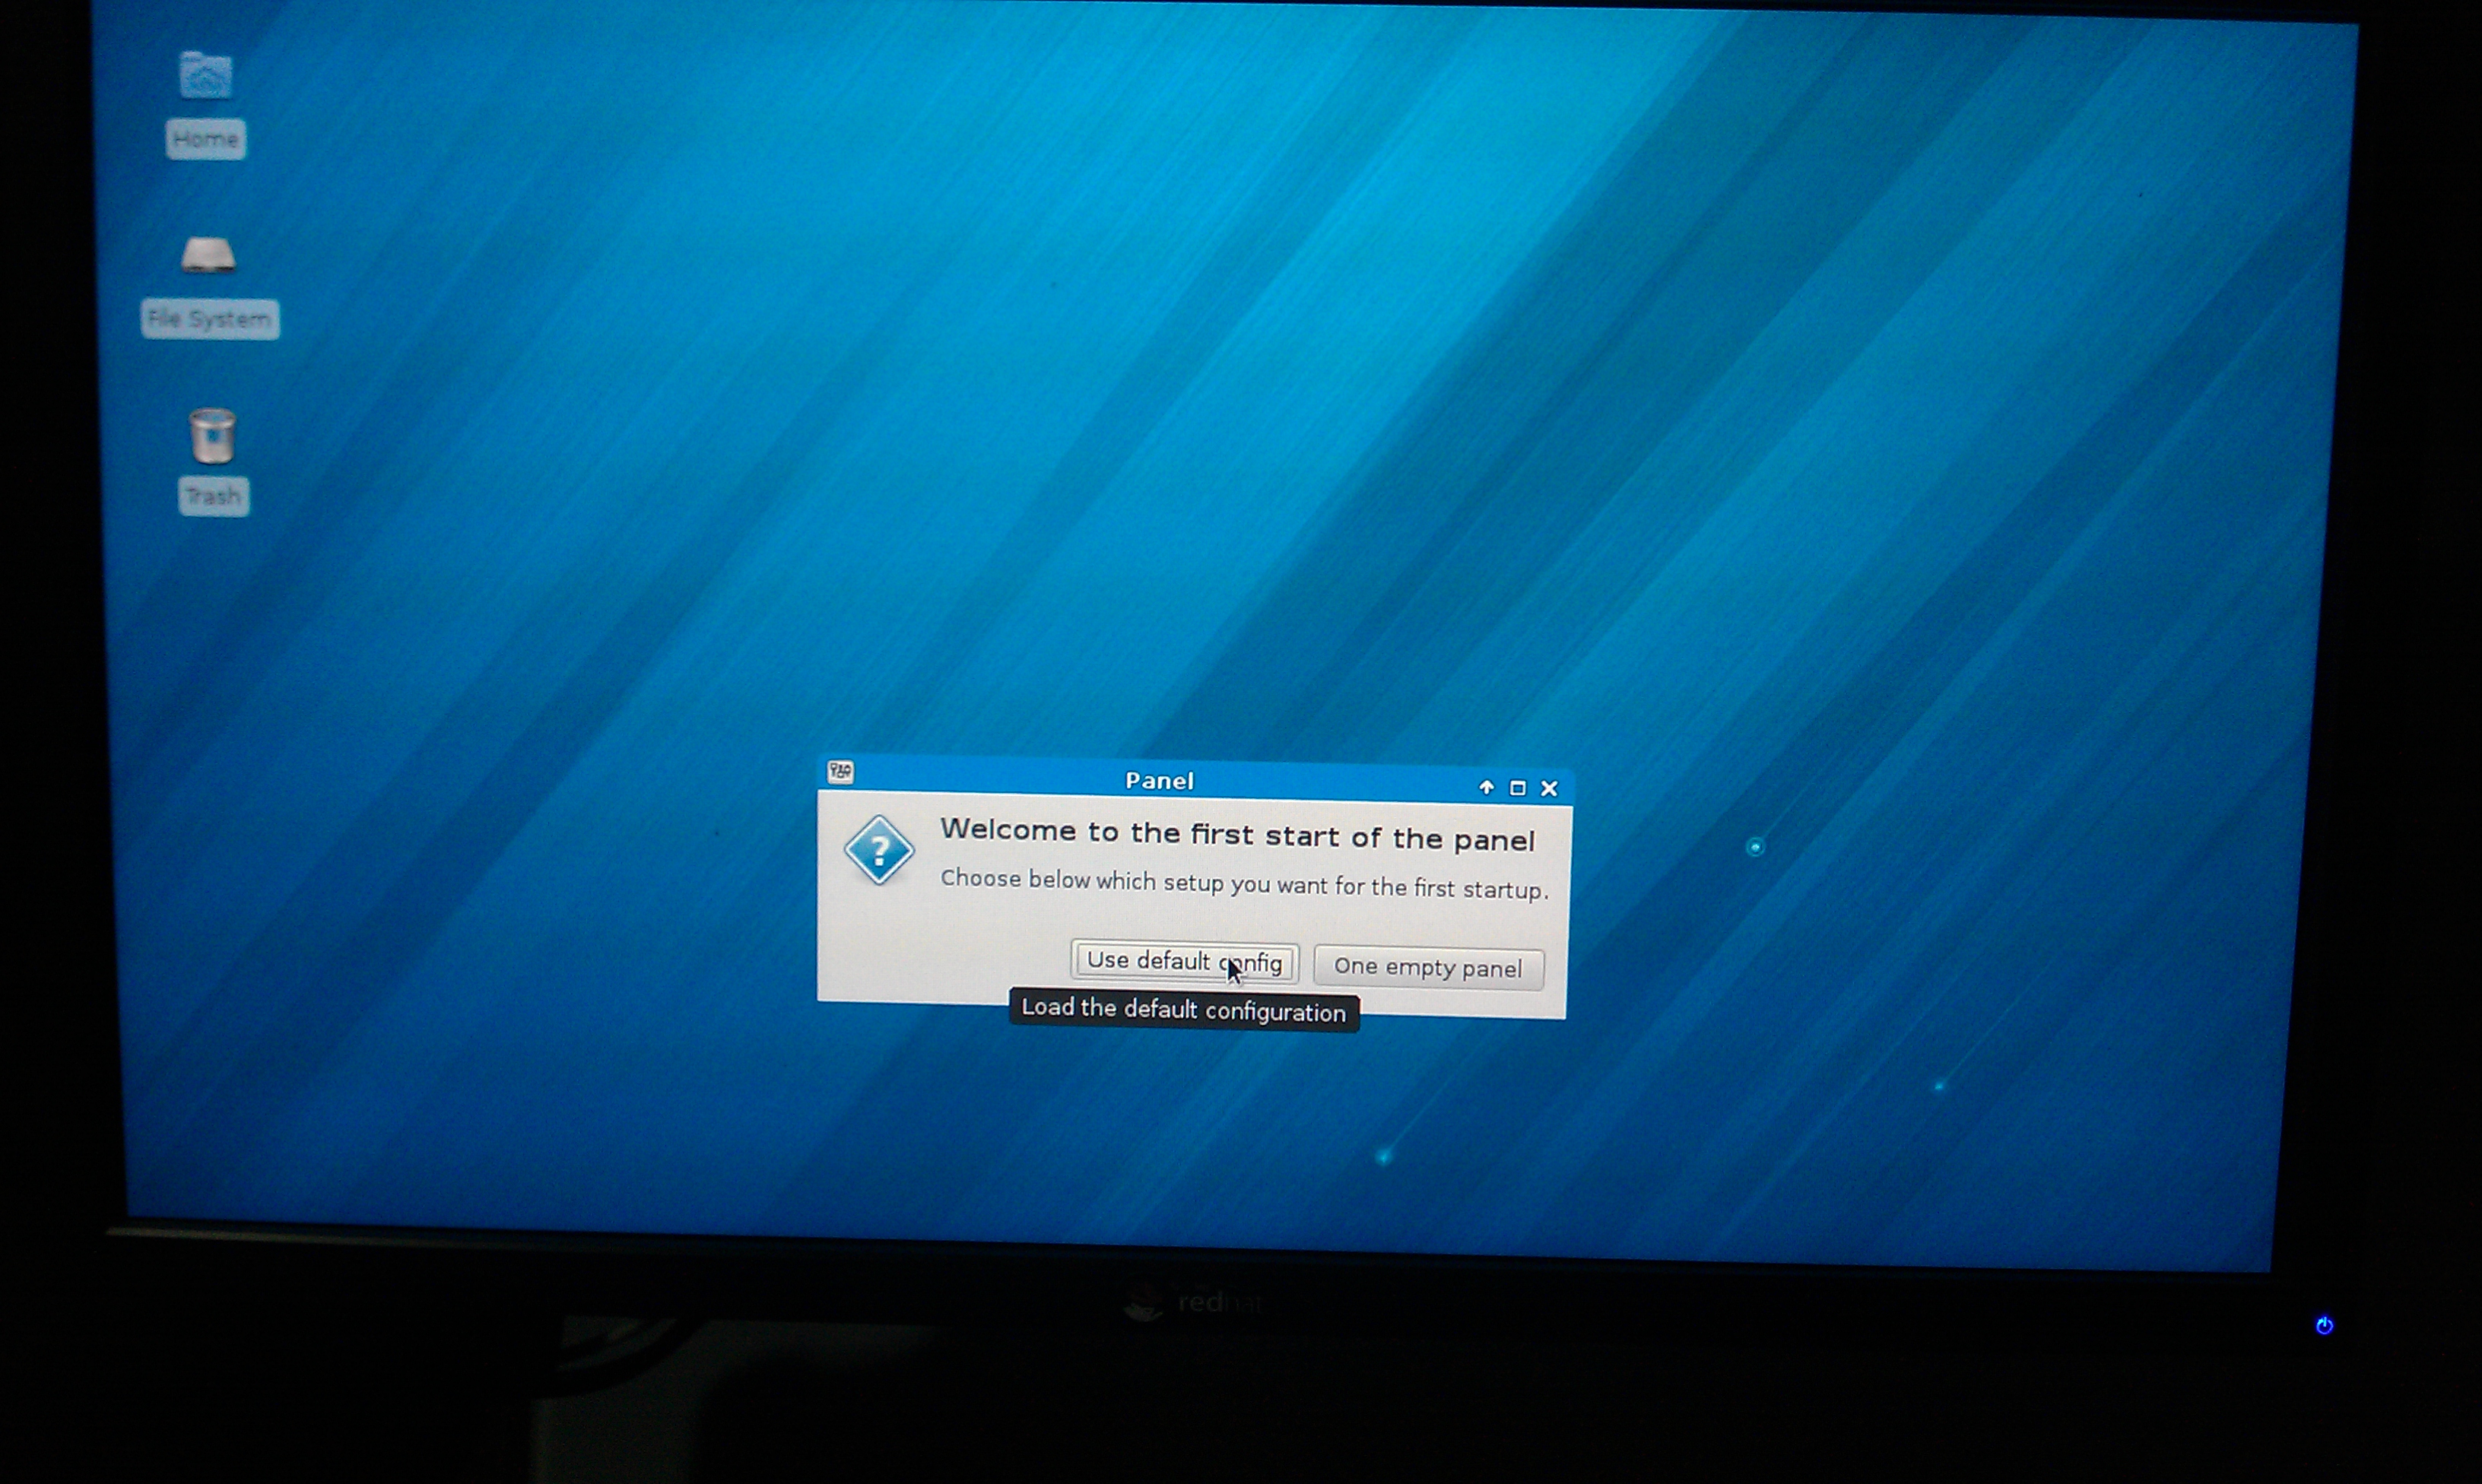
== Cubieboard XFCE start panel == | == Cubieboard XFCE start panel == | ||
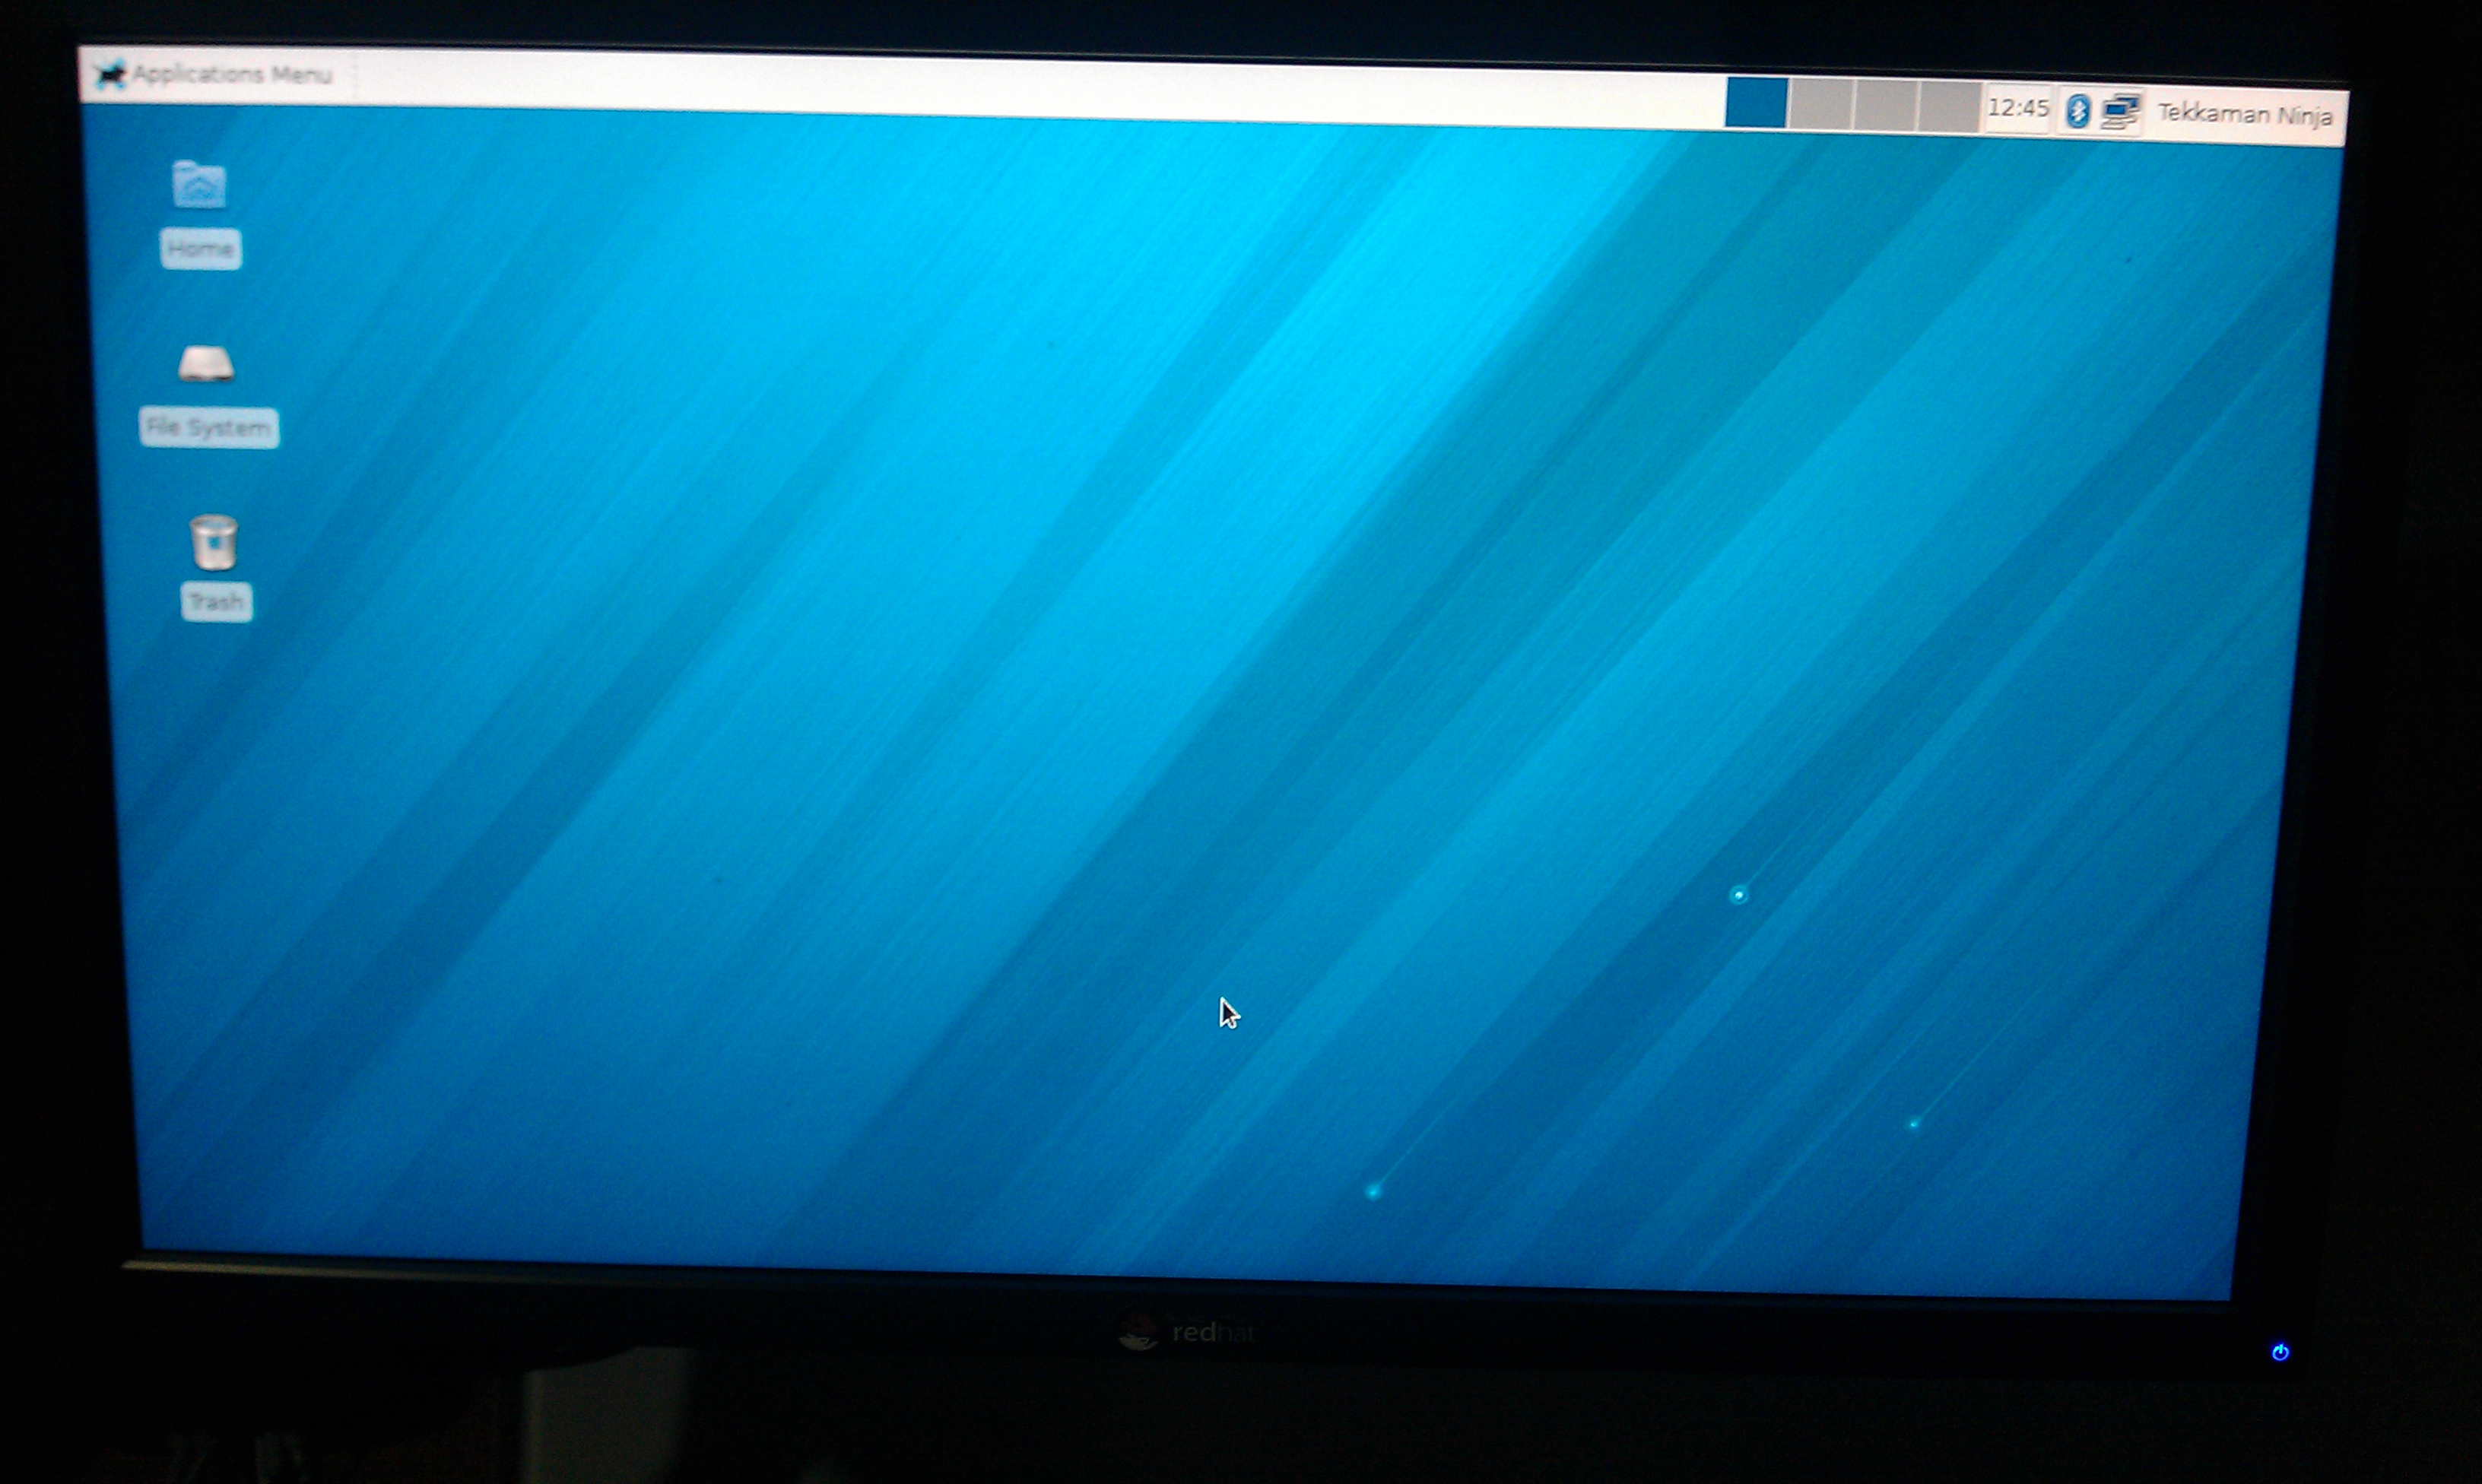
This is part of the XFCE desktop; You can choose the default or manual configuration. | This is part of the XFCE desktop; You can choose the default or manual configuration. | ||
[[File:Cubie Remix set panel.jpg]] | |||
[[File:Cubie Remix Desktop.jpg]] | |||
== Updating Fedora Remix on the Cubieboard == | == Updating Fedora Remix on the Cubieboard == | ||
=== Installing updates via yum === | |||
You use Fedora Remix on the Cubieboard just like any other Fedora installation. You might start by opening a terminal and updating the packages (internet connection required): | You use Fedora Remix on the Cubieboard just like any other Fedora installation. You might start by opening a terminal and updating the packages (internet connection required): | ||
| Line 111: | Line 119: | ||
sudo yum -y update | sudo yum -y update | ||
== Cubieboard hard at work == | == Cubieboard hard at work == | ||
Revision as of 17:16, 29 April 2013
Cubieboard Fedora Remix
The Cubieboard Fedora Remix, produced and maintained by Tekkaman Ninja, is a Fedora-based Linux distribution that runs on the low-cost ($49) system-on-a-chip (Allwinner A10 or sun4i) known as the Cubieboard (Cubie). This distribution consists of software packages from the Fedora ARM project (armv7hl architecture), a custom kernel, and a small number of additional packages that are modified from the Fedora versions.
This page will show you how to install the Fedora Remix on the Cubieboard. Installing the Fedora Remix on the Cubieboard is easier than installing Fedora on a laptop or desktop because all you have to do is copy the prepared image to an SD card and plug it into the Cubie.
The current build of Fedora 18 seems to be stable. The first core components of the Allwinner A10 landed in kernel 3.4.24, and the kernel source code comes from linux-sunxi.git
Let’s get started with it!
Installing the Cubieboard Fedora Remix
There are four steps to installing Fedora Remix on your Cubieboard the manual way.
- Copy the ready-made Fedora Remix image onto an 8GB (or larger, I use an 8GB/16GB Class 10) Micro SD memory card.
But for the nano version image(no-GUI)(wait for uploading),you can use 4GB Micro-SD card.
- Hook up a monitor (preferably via HDMI), a USB keyboard and mouse (ideally that share a single USB port) and, optionally, an internet connection (ethernet cable)
- Power on and walk through the Fedora “first boot” wizard
- Reboot, login and geek out!
The SD card serves as the Cubieboard’s primary drive. By default, the Cubie will look on the SD card for the operating system to load (though it’s possible to boot from other devices as well). Therefore, the first step is to grab the image and put it on the card.
1. Download the latest Cubieboard Fedora 18 Remix distribution, F18-cubie-{*build date*}.img.tar.bz2 (531MB).
2. Extract the archive using the Archive Manager (file-roller) application or "tar -xjvf" from the command line. This will create the file F18-cubie-{*build date*}.img.
3. Get the device name of the SD card using the Disks (palimpsest) application or sudo fdisk -l from the command line. Most likely the SD card is named /dev/mmcblk0. (or can be different on your machine)
4. Transfer the extracted image file F18-cubie-{*build date*}.img to the SD card using a terminal window.
Here’s the transfer command to execute in Step 4.
sudo dd if=F18-cubie-{*build date*}.img of=/dev/mmcblk0 ;sync
The command above assumes you saved F18-cubie-{*build date*}.img in your work directory after extraction. If you saved the file elsewhere, you’ll need to change to the appropriate directory via the command line (cd directory/name) before executing the dd command. dd is a low-level copy command that can read and write complete disk images. "if" stands for “input file”, "of" stands for “output file” and the command "sync" is for synchronizing data on disk with memory.
In our case, the input file is the disk image F18-cubie-{*build date*}.img, the output file is the SD card device /dev/mmcblk0, and then synchronization. These commands will create the necessary file system partitions on the SD card, occupying 4.3GB of space, then copy the prepared operating system files to those partitions. A one step installation!
NOTE: As you’ll learn later, the first boot wizard will allow you to resize the main partition to use all available space on the card.
TIP: The dd command is also your friend if you need to move to a bigger SD card. Simply reverse the if and of values, insert a bigger card and run the above command again.
The dd command doesn’t output any messages until the operation is complete, so be patient. The length of time to execute the command will vary depending on the speed of the card. A Class-10 SD card will take about 20 minutes (@ 3.5 MB/s). Here’s an example of the output you’ll see when the command finishes:
 sudo dd if=F18-cubie-20130219.img of=/dev/mmcblk0 ;sync
 [sudo] password for tekkamanninja:
 8388608+0 records in
 8388608+0 records out
 4294967296 bytes (4.3 GB) copied, 1217.55 s, 3.5 MB/s
You can verify the operation worked by ejecting the SD card, reinserting it, and then browsing the contents using the file explorer. You should see two mounts, boot and rootfs. Once you’re done poking around, unmount the /boot and rootfs ('/') partitions and flash u-boot to the SD card.
 wget http://tekkamanninja.fedorapeople.org/boards/cubieboard/u-boot/sunxi-spl.bin
 wget http://tekkamanninja.fedorapeople.org/boards/cubieboard/u-boot/u-boot.bin
 sudo dd if=sunxi-spl.bin of=/dev/mmcblk0 bs=1024 seek=8
 sudo dd if=./u-boot.bin of=/dev/mmcblk0 bs=1024 seek=32
 sync
The SD card is ready. Now let’s prepare the Cubie!
Preparing the Cubie
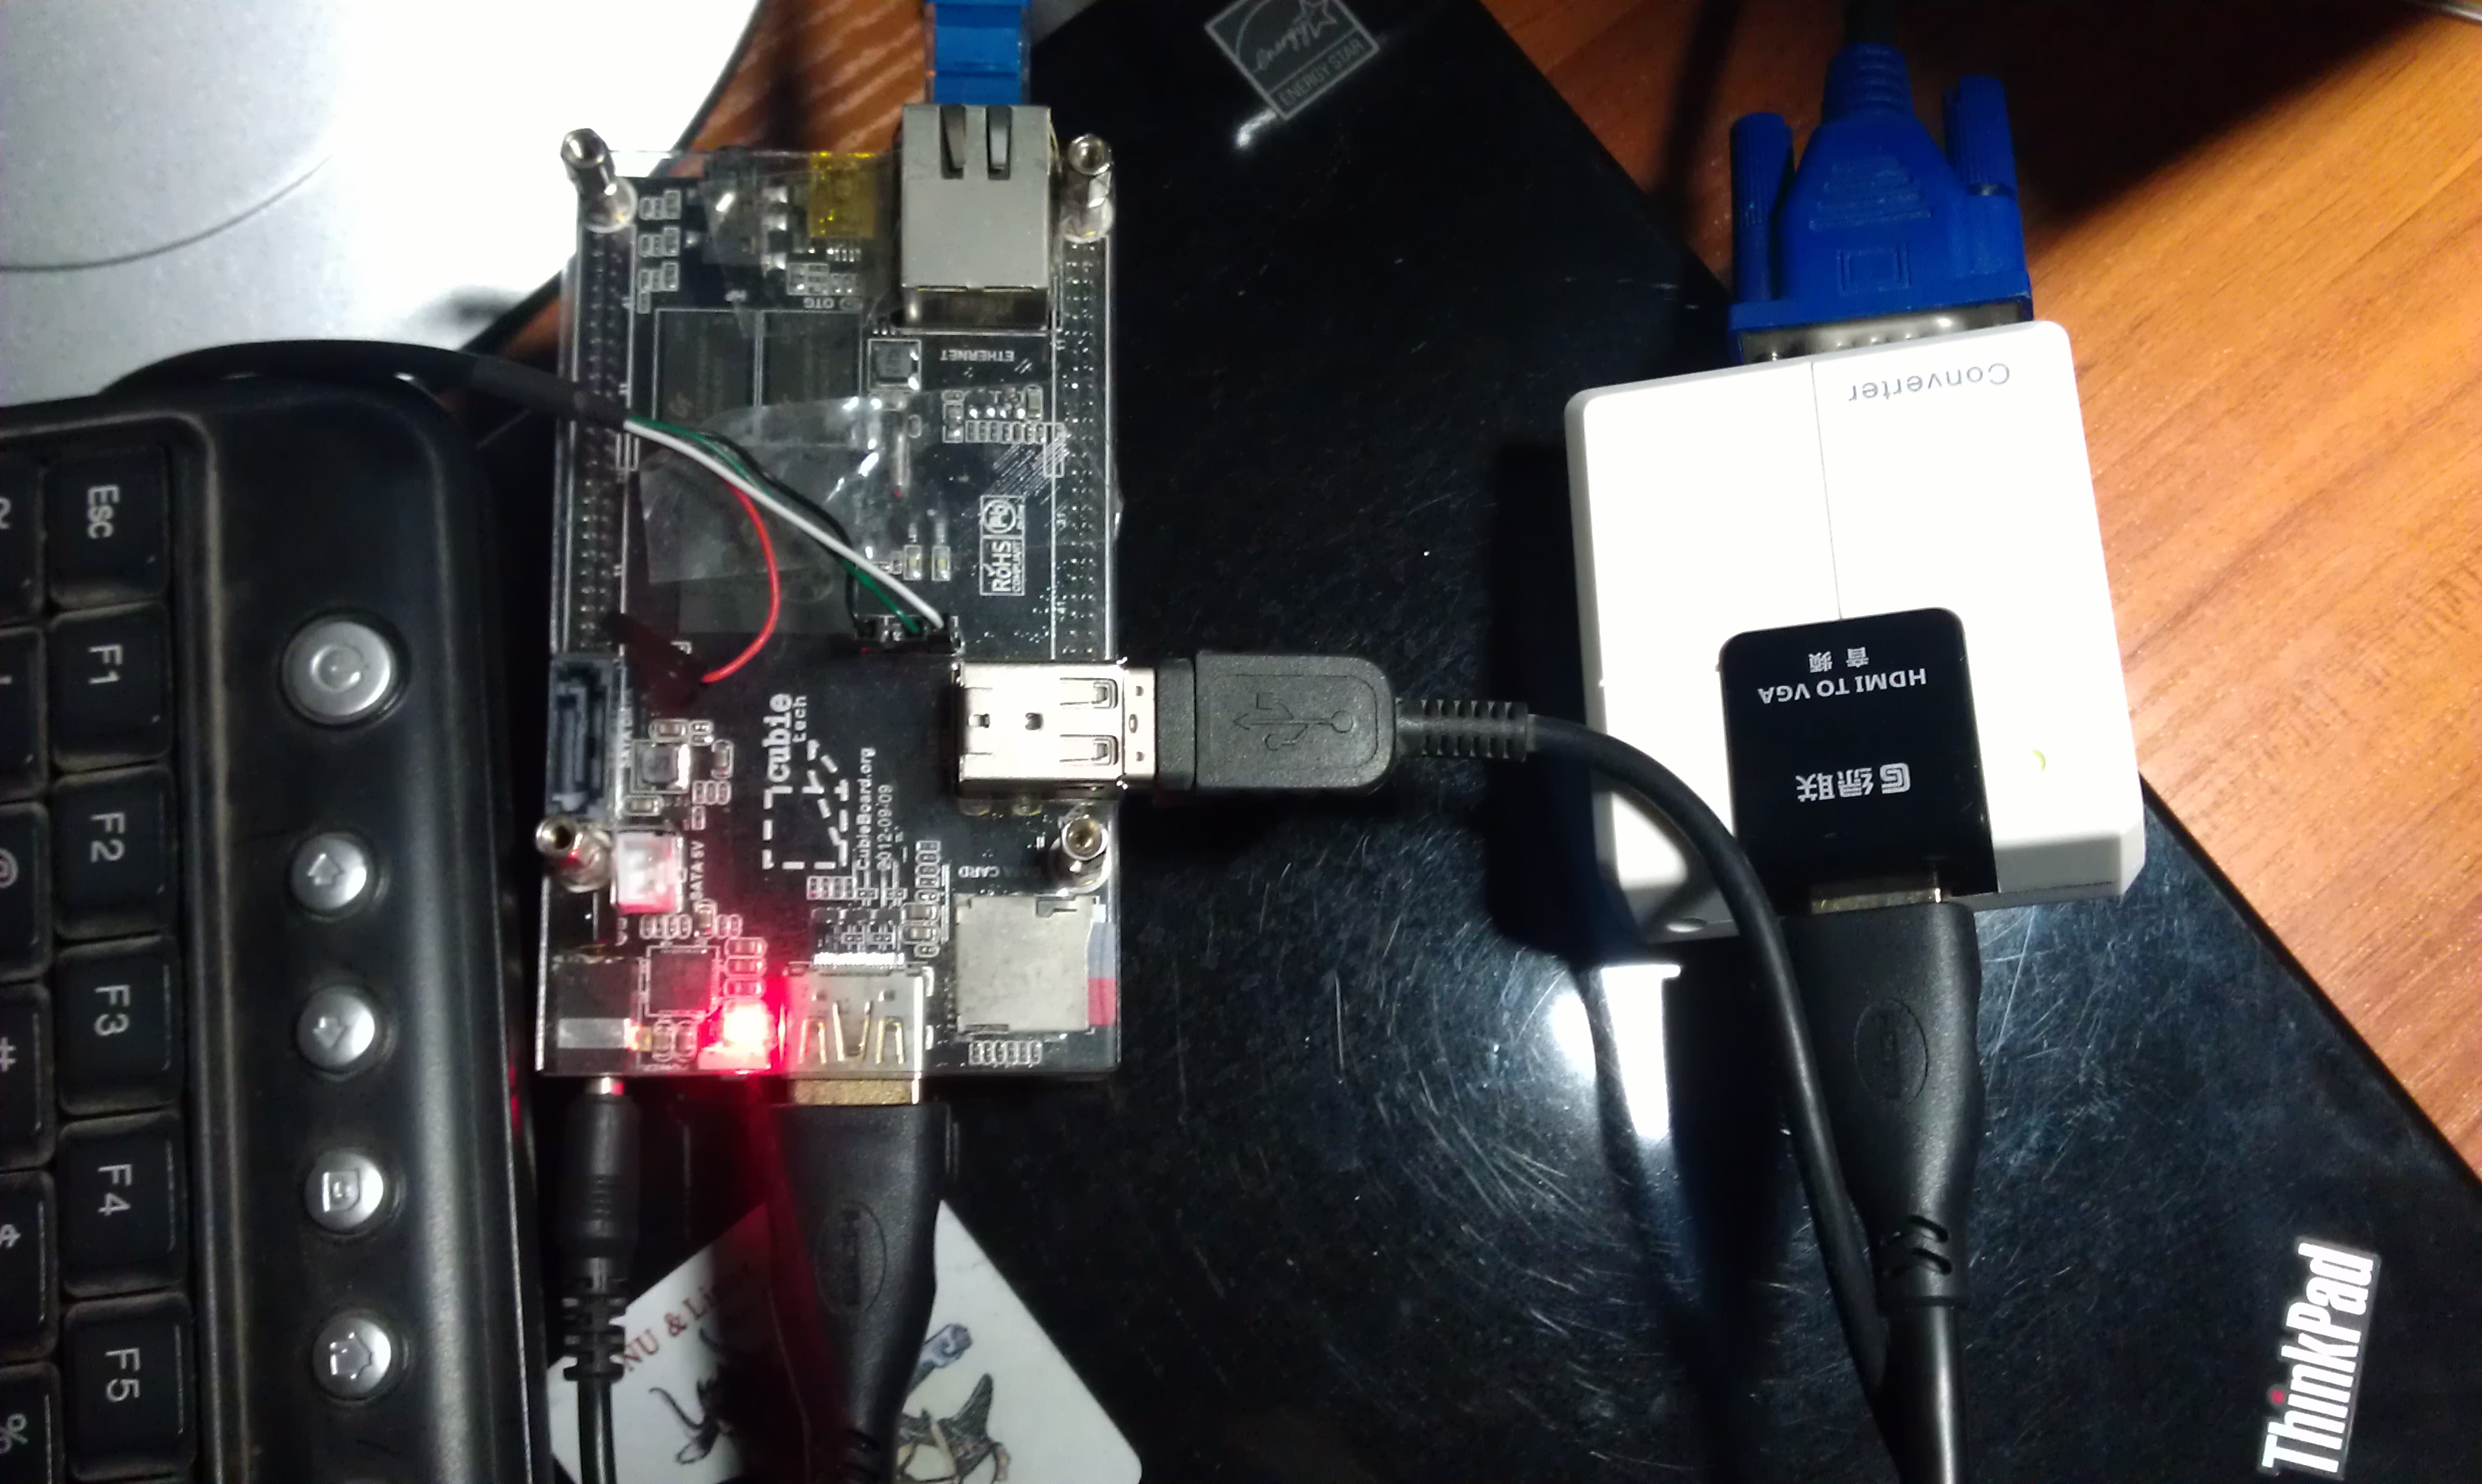
Plug the following inputs into the Cubieboard:
   SD card
   Monitor HDMI cable(or Monitor VGA cable + HDMI to VGA box)
   USB keyboard
   USB mouse
   Ethernet cable
Next, turn on the monitor, and if necessary, the keyboard and mouse.
The Cubieboard only has two USB ports, which you may quickly outgrow. One solution is to expand the number of ports by adding a (preferably powered) USB hub. Before going that route, you can save one of the USB ports by getting a keyboard and mouse that can share the same port.
Power it up!
The final input is the power (otherwise known as the “on” switch).
Grab a your proper charger (5 Volt, 2A) and plug it into a power outlet. You may be tempted to use the USB port of your laptop as the power source, however the USB port may not provide the necessary power required by the Cubieboard (2A). The general recommendation is to play it safe and use a wall outlet. Also, don't forget that your charger must provide the proper voltage (5V) and amperage (>=2A) to work properly for your Cubieboard.
Customizing the installation on first boot
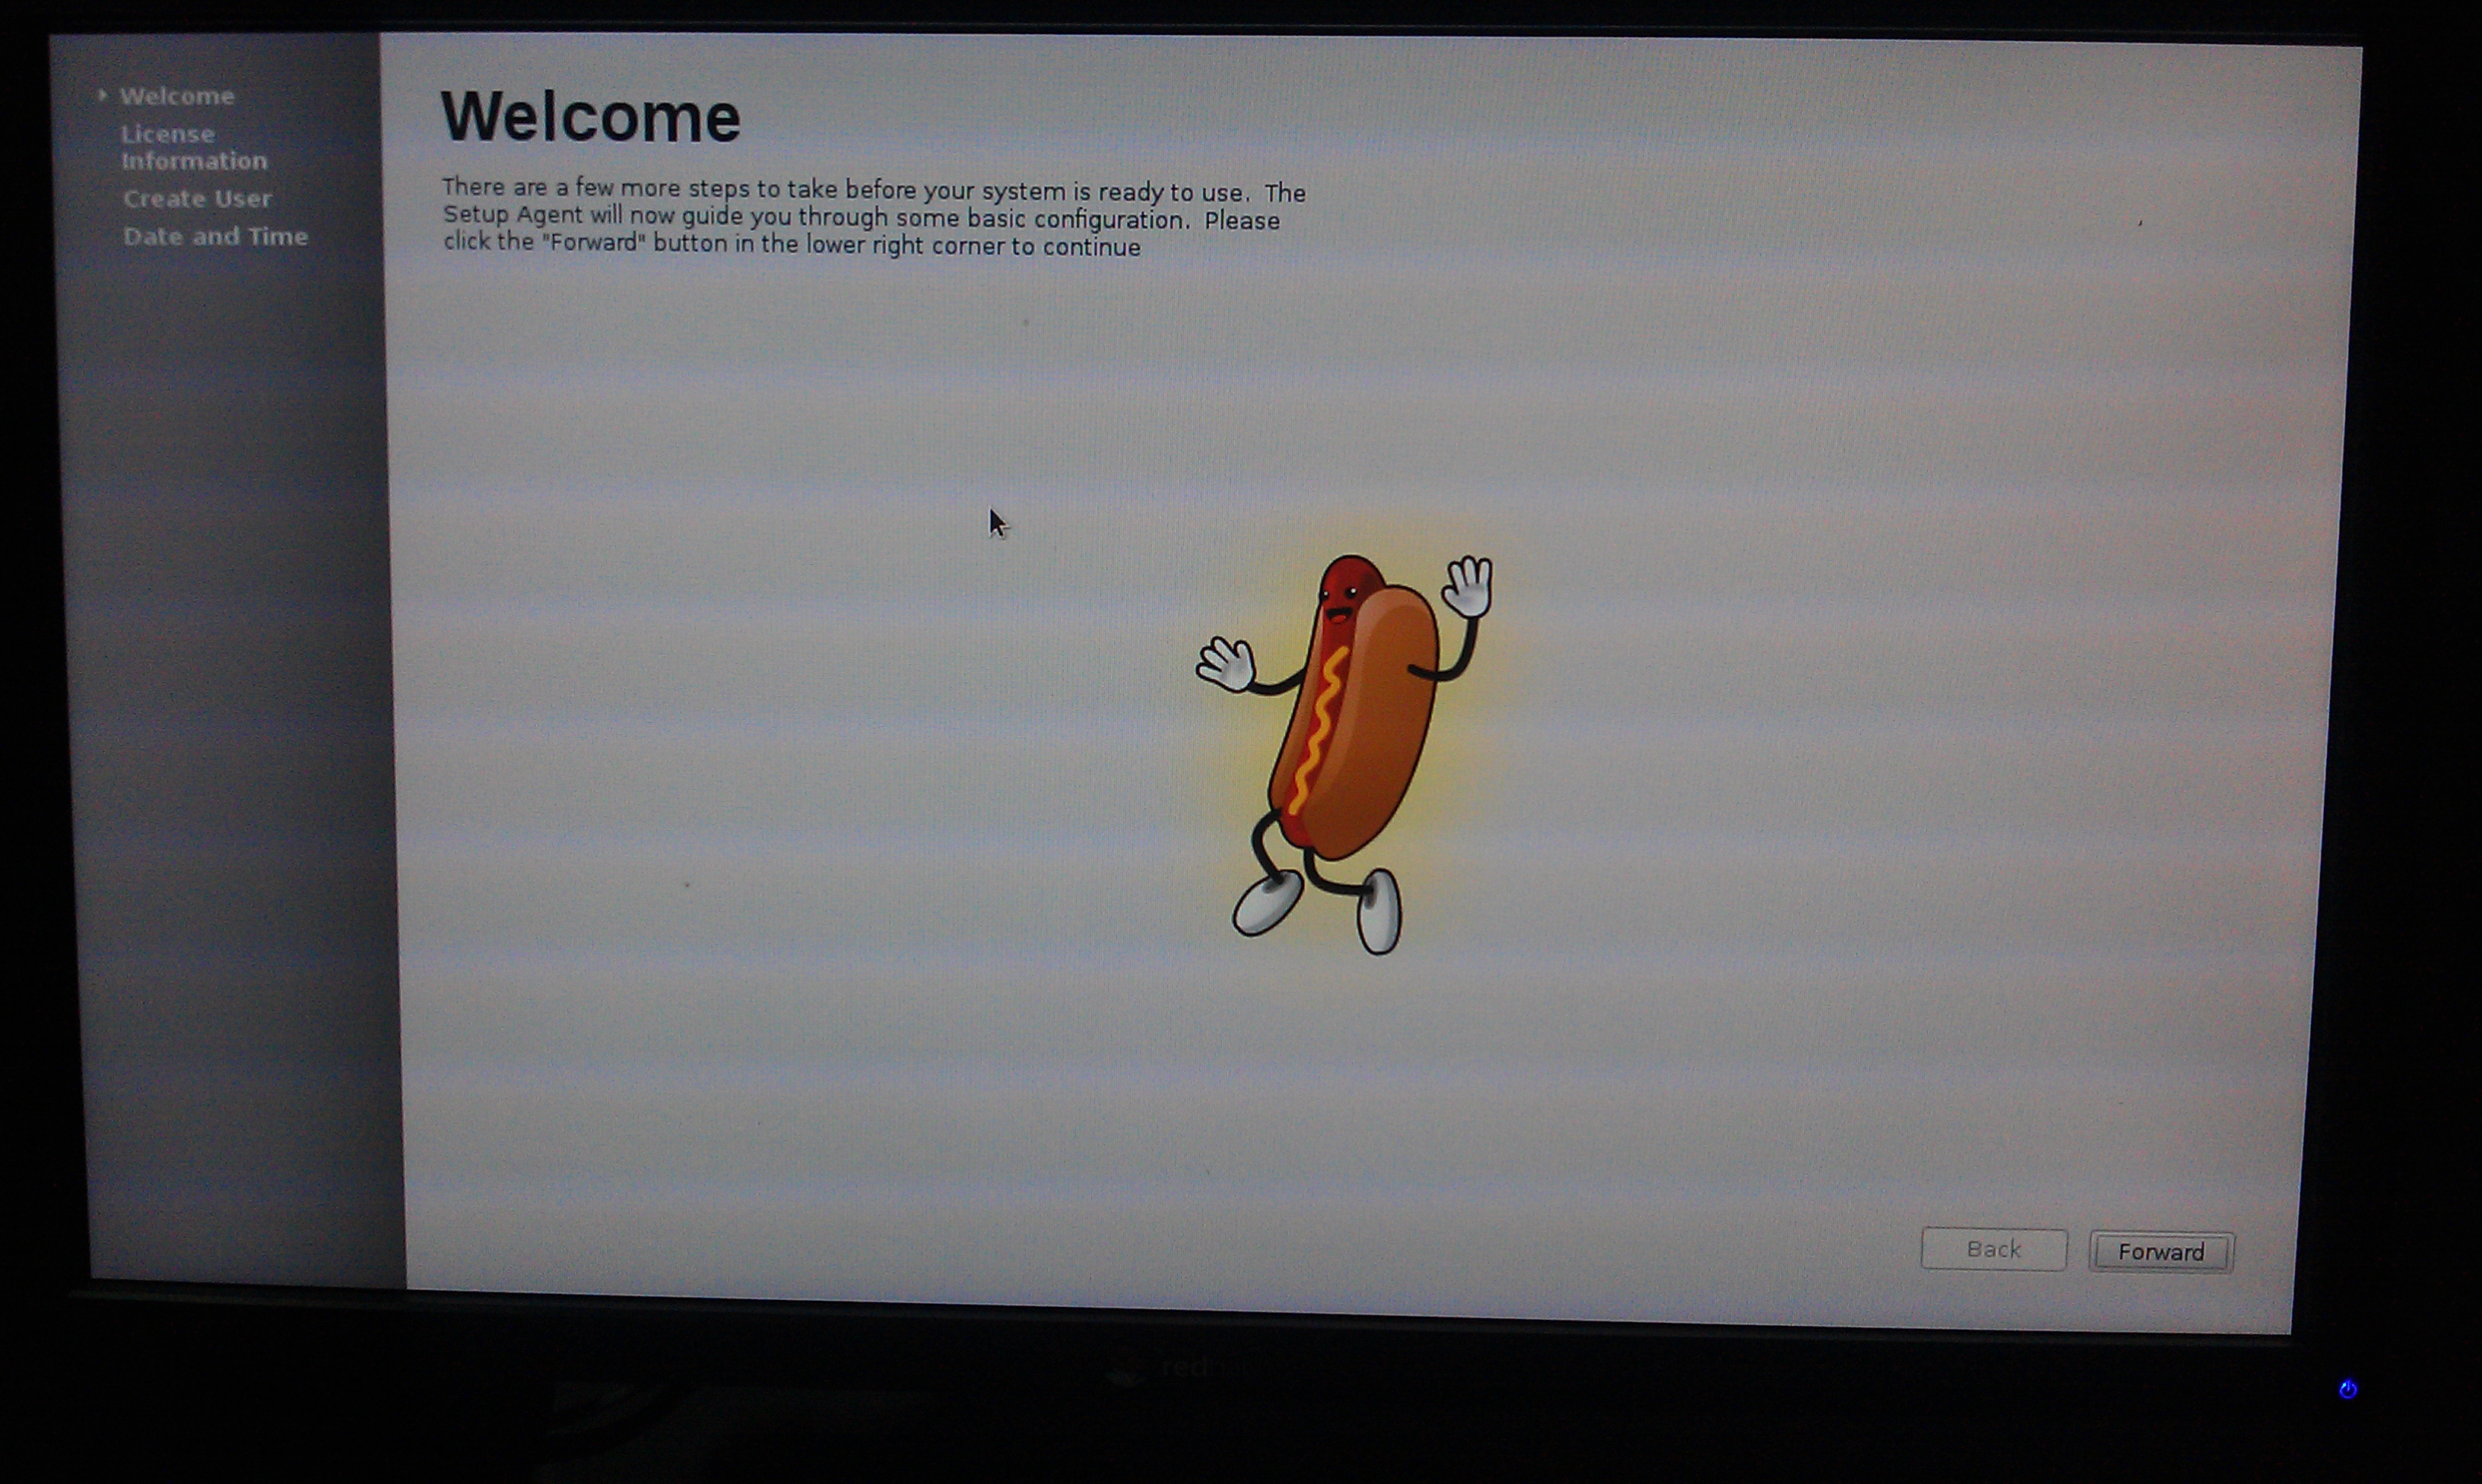
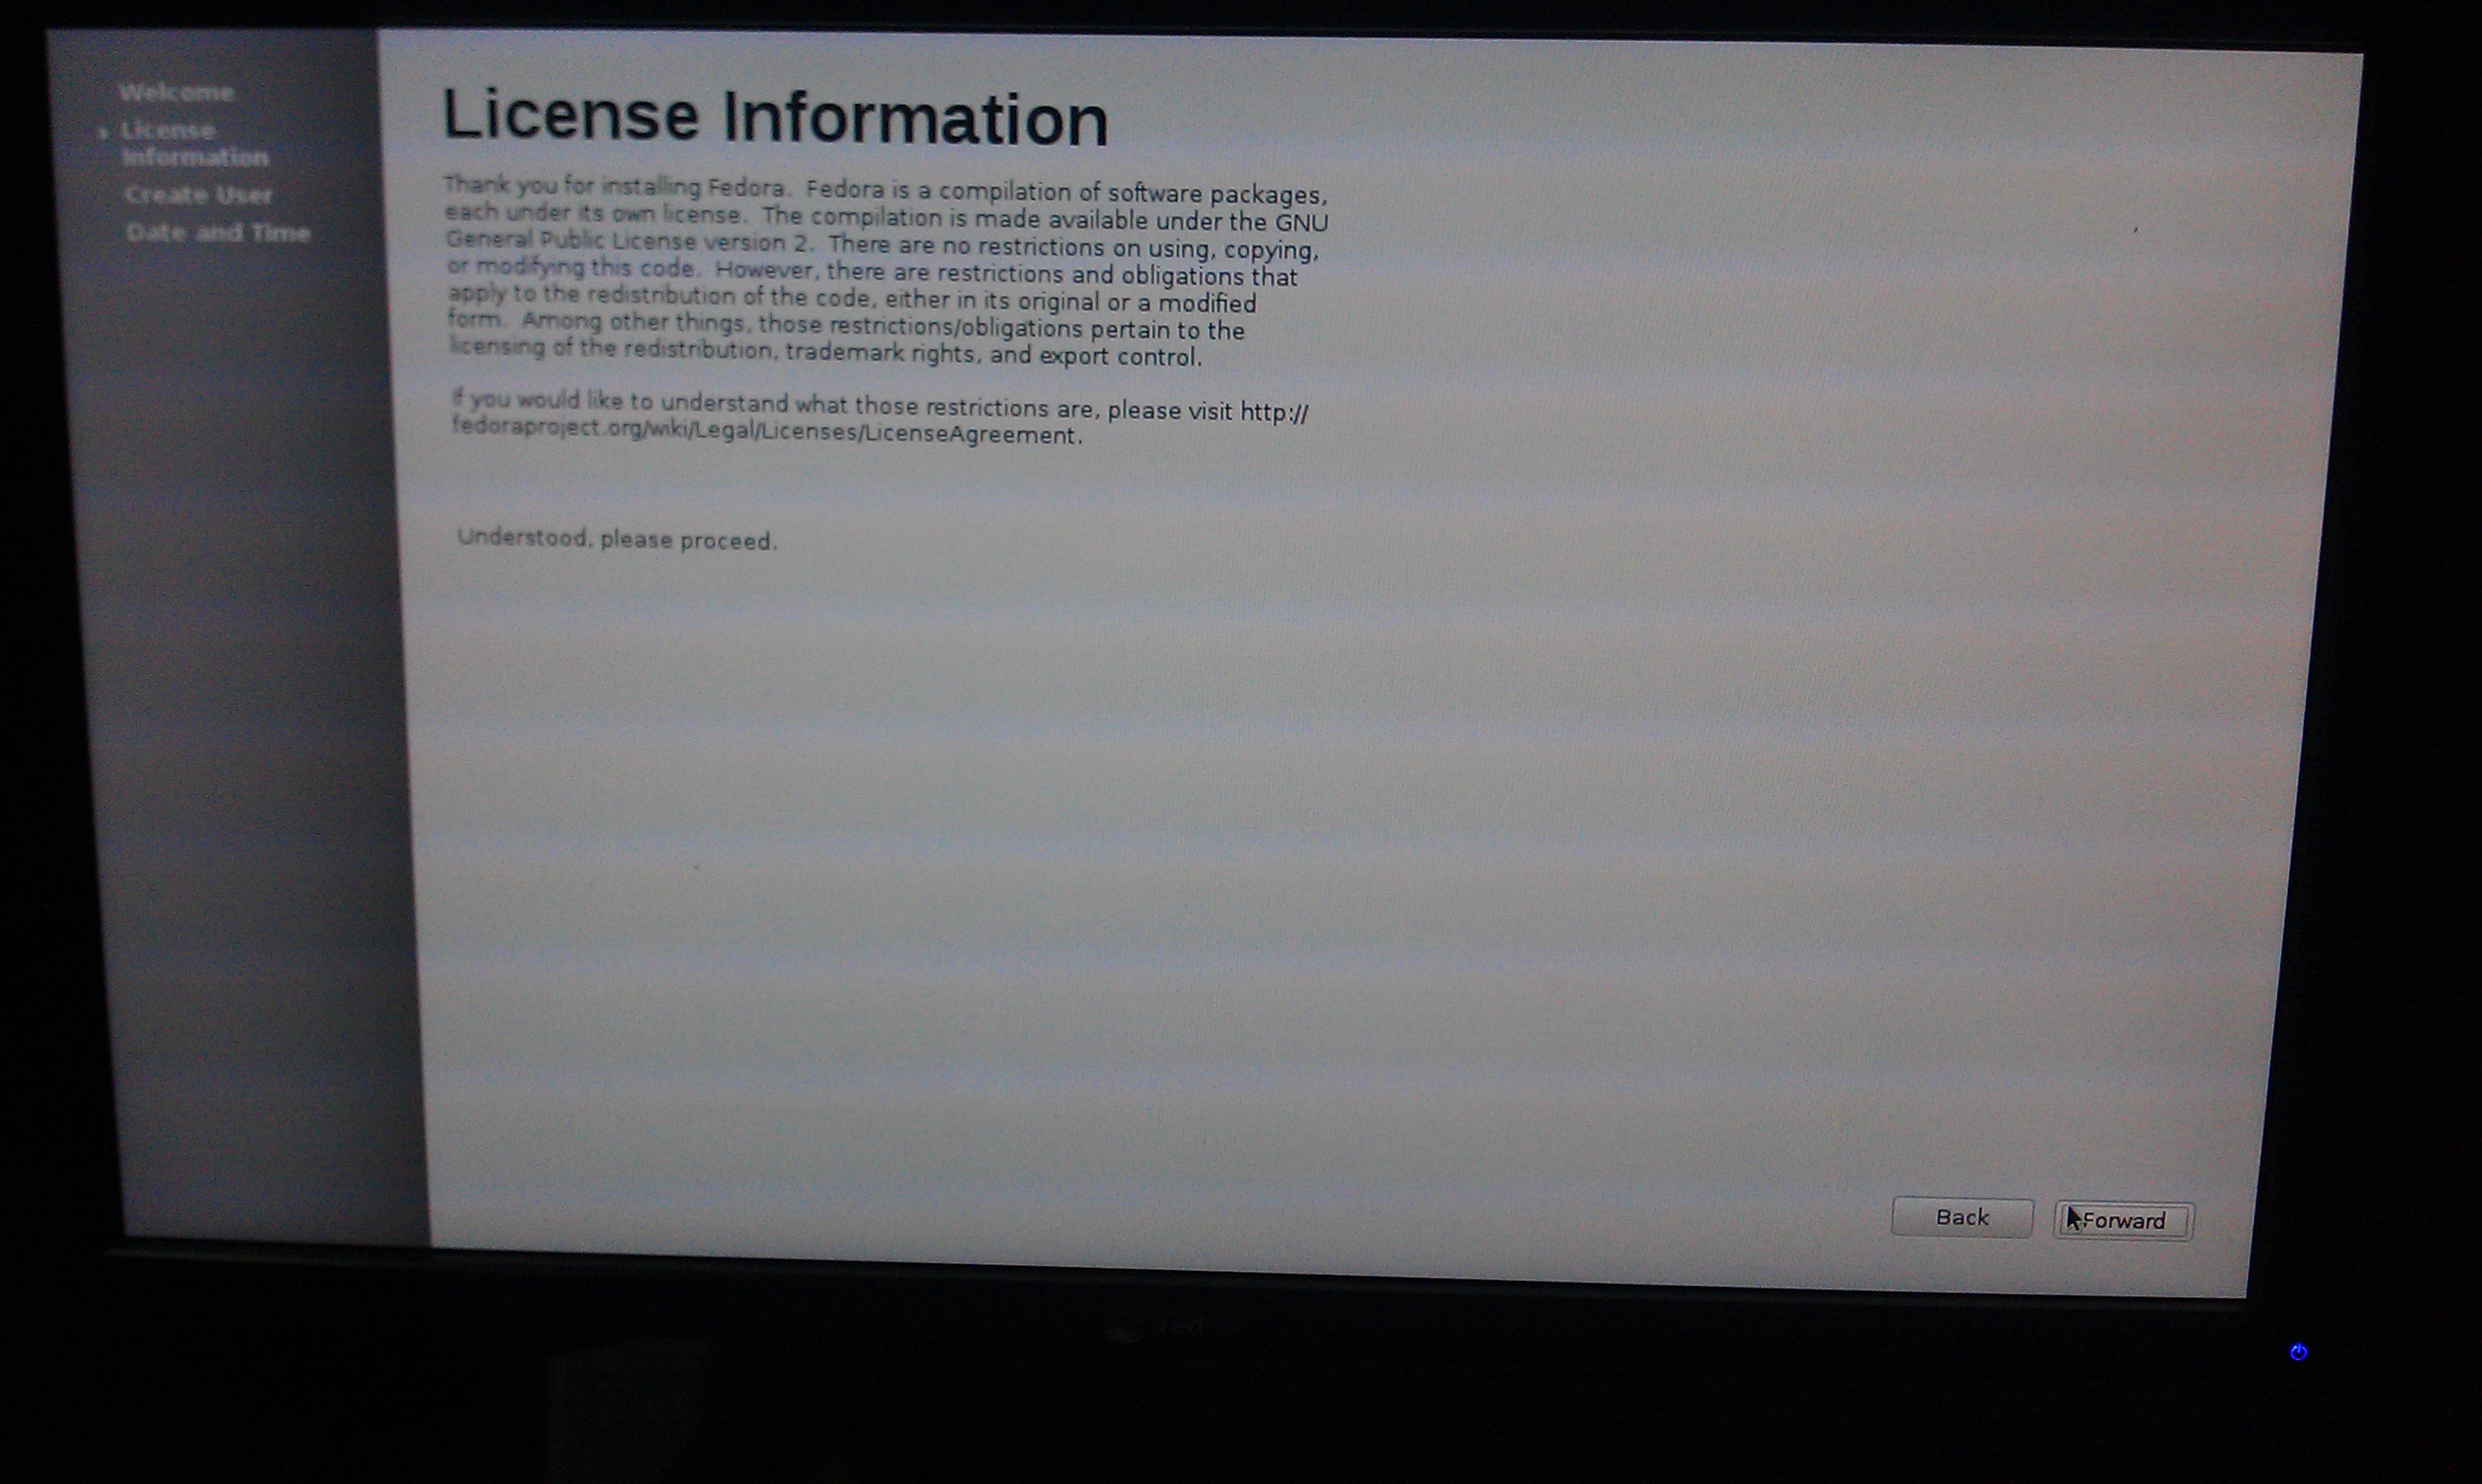
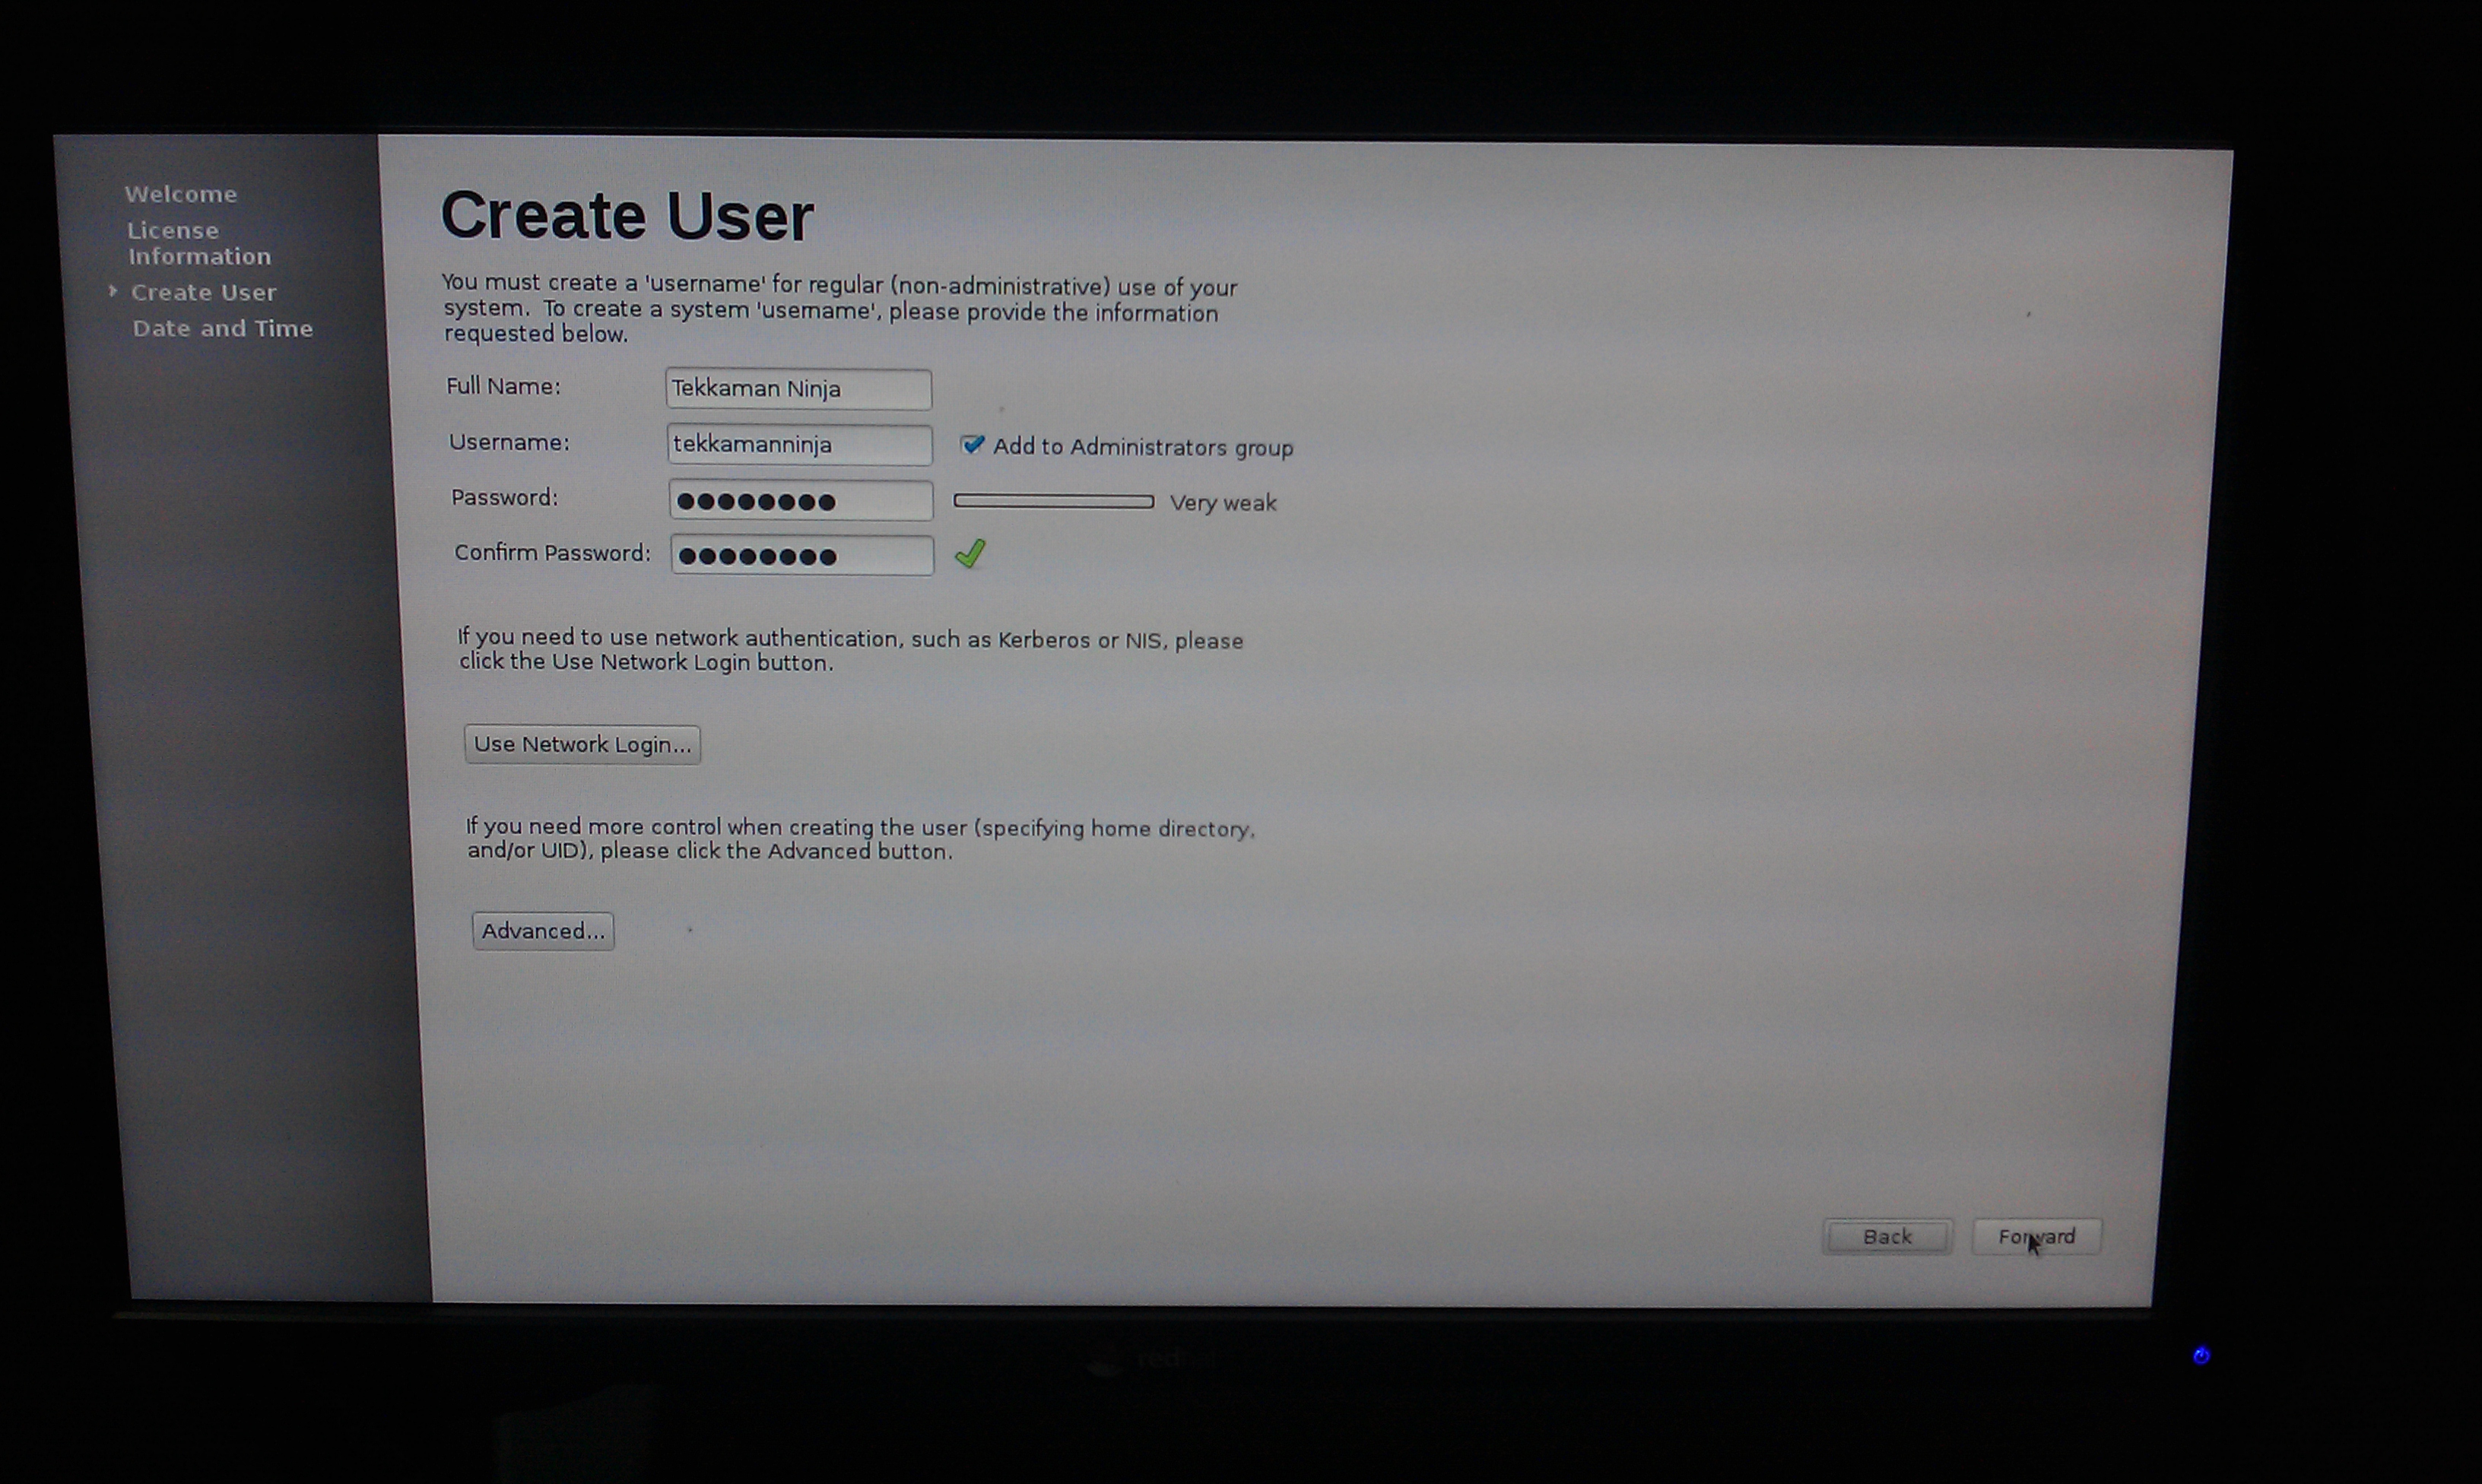
This wouldn’t be a Fedora installation without the first boot wizard. The inclusion of first boot is one of the features that sets the Fedora Remix apart from other Cubieboard distributions. In addition to the simple first boot operations (review license, set language, timezone and date, root password), the Fedora Remix allows you to:
- Resize the rootfs partition to use all remaining space on the SD card.
- Create a user account (add the user to administrators group).
Fedora Remix create system settings boot screen
Cubieboard XFCE desktop login
After you’ve logged in (go check your email, this may take a moment as well. even we are using mali400), you’ll see the following dialog window.
Cubieboard XFCE start panel
This is part of the XFCE desktop; You can choose the default or manual configuration.
Updating Fedora Remix on the Cubieboard
Installing updates via yum
You use Fedora Remix on the Cubieboard just like any other Fedora installation. You might start by opening a terminal and updating the packages (internet connection required):
sudo yum -y update
Cubieboard hard at work
To be continued
Tinker!
The Fedora Remix is one of many distributions you can install on the Cubieboard, and there is plenty of room for improvement. If your goal is to use the Cubieboard as a multimedia center, Fedora Remix may not be your best option (check out XBMC). You’d choose Fedora Remix for things the Fedora OS excels at, such as software development. Fortunately, you don’t have to limit yourself to a single distribution. Changing distributions is as easy as swapping SD cards. We encourage you to try different distributions to get the most out of your Cubieboard.
Cubieboard Photobooth
Check what are we doing with Cubieboard !!! ;)

