From Fedora Project Wiki
(Created page with "The following describes how we created a photobooth using the Raspberry Pi--and how you can too. File:Pi1.jpg == Equipment == * Raspberry Pi * DSLR ** Note: Not all DSLR...") |
No edit summary |
||
| Line 1: | Line 1: | ||
The following describes how we created a photobooth using the Raspberry Pi--and how you can too. | The following describes how we created a photobooth using the Raspberry Pi--and how you can too. | ||
[[File:Pi1.jpg]] | [[File:Pi1.jpg width=500]] | ||
== Equipment == | == Equipment == | ||
| Line 13: | Line 13: | ||
== Instructions == | == Instructions == | ||
[[File:Photobooth2.jpg]] | [[File:Photobooth2.jpg width="500"]] | ||
''In this use of the photobooth, visitors could have their pictures taken with Tux, the penguin mascot for Linux. Thus a second person was needed to run the camera/computer.'' | ''In this use of the photobooth, visitors could have their pictures taken with Tux, the penguin mascot for Linux. Thus a second person was needed to run the camera/computer.'' | ||
Revision as of 13:44, 8 August 2012
The following describes how we created a photobooth using the Raspberry Pi--and how you can too.
Equipment
- Raspberry Pi
- DSLR
- Note: Not all DSLRs work equally well for this. You may want to test a few.
- A long USB cable
- photobooth.py
- Web space for storing the photos and letting visitors download them
Instructions
File:Photobooth2.jpg width="500"
In this use of the photobooth, visitors could have their pictures taken with Tux, the penguin mascot for Linux. Thus a second person was needed to run the camera/computer.
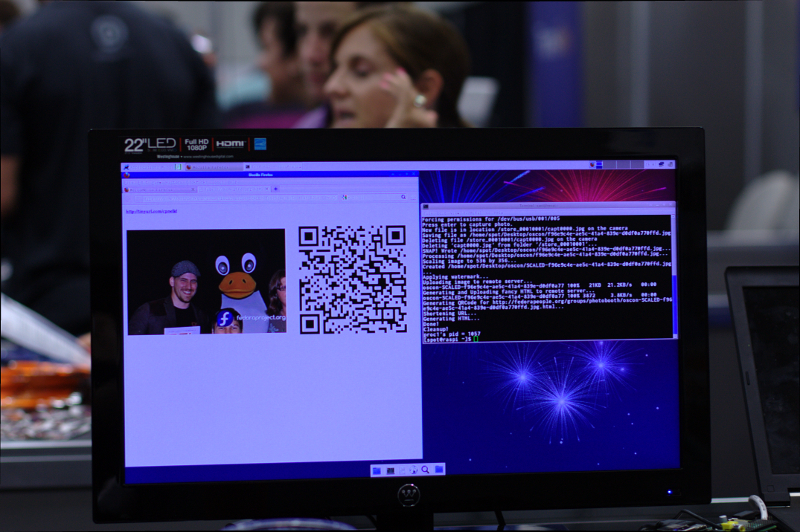
End result
Photobooth visitors can scan the QR code or grab the URL to download their photos:

