From Fedora Project Wiki
No edit summary |
No edit summary |
||
| Line 1: | Line 1: | ||
The following describes how we created a photobooth using the Raspberry Pi--and how you can too. | The following describes how we created a photobooth using the Raspberry Pi--and how you can too. | ||
[[File:Pi1.jpg | [[File:Pi1.jpg|500px]] | ||
== Equipment == | == Equipment == | ||
| Line 13: | Line 13: | ||
== Instructions == | == Instructions == | ||
[[File:Photobooth2.jpg | [[File:Photobooth2.jpg|500px]] | ||
''In this use of the photobooth, visitors could have their pictures taken with Tux, the penguin mascot for Linux. Thus a second person was needed to run the camera/computer.'' | ''In this use of the photobooth, visitors could have their pictures taken with Tux, the penguin mascot for Linux. Thus a second person was needed to run the camera/computer.'' | ||
| Line 21: | Line 21: | ||
Photobooth visitors can scan the QR code or grab the URL to download their photos: | Photobooth visitors can scan the QR code or grab the URL to download their photos: | ||
[[File:Fedora_photo_scan.jpg]] | [[File:Fedora_photo_scan.jpg|500px]] | ||
Revision as of 13:46, 8 August 2012
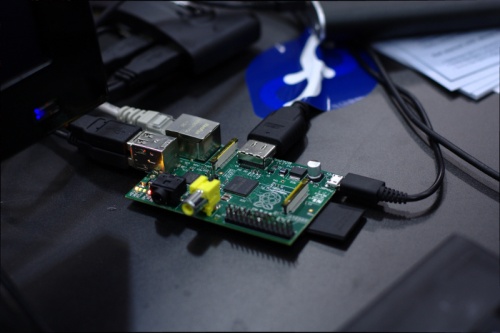
The following describes how we created a photobooth using the Raspberry Pi--and how you can too.
Equipment
- Raspberry Pi
- DSLR
- Note: Not all DSLRs work equally well for this. You may want to test a few.
- A long USB cable
- photobooth.py
- Web space for storing the photos and letting visitors download them
Instructions
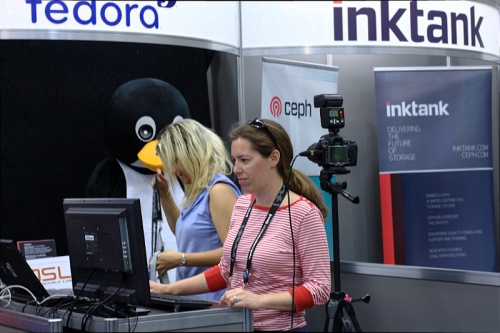
In this use of the photobooth, visitors could have their pictures taken with Tux, the penguin mascot for Linux. Thus a second person was needed to run the camera/computer.
End result
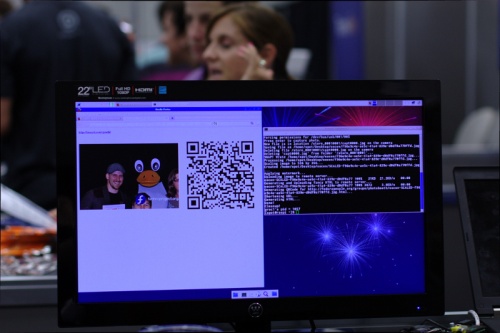
Photobooth visitors can scan the QR code or grab the URL to download their photos:


