| Line 73: | Line 73: | ||
Method 1: Zanata-cli | '''Method 1: Zanata-cli''' | ||
| Line 97: | Line 97: | ||
Once Ivy installed, click the zanata-cli file. | Once Ivy installed, click the zanata-cli file. | ||
Copy and paste the content of the executable file into you text editor and save as “zanata-cli”. | |||
2. Configuring the client | 2. Configuring the client | ||
| Line 119: | Line 118: | ||
From your Zanata account, go to your dashboard and click “Settings”. | From your Zanata account, go to your dashboard and click “Settings”. | ||
Then select Client | Then select Client | ||
If you do not have one, generate an API key. | If you do not have one, generate an API key. | ||
2.1.2. Copy the contents of the text-box labeled “Configuration [zanata.ini]” into your previously created zanata.ini file and save the file. | 2.1.2. Copy the contents of the text-box labeled “Configuration [zanata.ini]” into your previously created zanata.ini file and save the file. | ||
| Line 140: | Line 132: | ||
Fedora Installation Guide - f20 - select your locale - on the upper right corner, click the arrow and select “Download config file” | Fedora Installation Guide - f20 - select your locale - on the upper right corner, click the arrow and select “Download config file” | ||
Save the zanata.xml file in your preferred location. | |||
3. Downloading the files to your machine | 3. Downloading the files to your machine | ||
Before running the following command in your command-line, make sure you are in the directory containing the zanata.xml file. | Before running the following command in your command-line, make sure you are in the directory containing the zanata.xml file. | ||
Run: | Run: | ||
| Line 156: | Line 146: | ||
You can now open your files with your preferred translation editor and translate your project. | You can now open your files with your preferred translation editor and translate your project. | ||
4. Uploading the files to Zanata | 4. Uploading the files to Zanata | ||
To push the translated files back to Zanata, run the following command: | To push the translated files back to Zanata, run the following command: | ||
| Line 168: | Line 158: | ||
'''Method 2: Through the User Interface | |||
''' | |||
Login to https://translate.zanata.org/ | |||
Login to https://translate.zanata.org/ | |||
Search for your project, for example the Fedora Installation Guide. | Search for your project, for example the Fedora Installation Guide. | ||
| Line 180: | Line 169: | ||
To download the entire project, click on the arrow located in the top right corner of the page (next to | To download the entire project, click on the arrow located in the top right corner of the page (next to | ||
« sort”) and click “Download All (zip) ». | « sort”) and click “Download All (zip) ». | ||
To download one file only, click on the arrow located on the left of the filename, and select “Download Translated [.po]. ” | To download one file only, click on the arrow located on the left of the filename, and select “Download Translated [.po]. ” | ||
Save the file to your preferred location. | Save the file to your preferred location. | ||
Revision as of 01:38, 14 January 2015
Fedora Localization Guide on Zanata(Draft)
Introduction
This page describes some basic steps on how to join Fedora Project L10n team, how to begin translation on new L10n platform - Zanata, as well as some simple sugestions on translation proofreading and test.
How to become a Fedora translator
L10n is not just about translation, but if you want to contribute on L10n, then start from a translator is a good choice. You need to follow the steps below to complete:
- Create a Fedora account
- Subscribe to the mailing lists
- Introduce Yourself(It's a good idea to do it on all mailing list you have subscribed)
- Login to Zanata with your FAS account
Your self-introduction is important. It raises your chances to be approved for write access. You may also want to create a Bugzilla account to work on bugs reported by users.
Create a Fedora account
- Open https://admin.fedoraproject.org/accounts and click the New Account link.
- Fill in each required parts and click Sign up. A password will be emailed to you, and you can change it later.
- Now visit https://admin.fedoraproject.org/accounts again and log in with your password.
- The account system will remind you that CLA is not completed.
Signing the CLA
To begin translation, you must complete the Contributors License Agreement, or CLA.
- Visit https://admin.fedoraproject.org/accounts and login your account using your user name and password obtained from the previous process.
- In the Welcome page, click complete the CLA or go to https://admin.fedoraproject.org/accounts/user/edit.
- If the information of telephone number and postal address have not been provided yet, the Edit Account (user_name) page will be appeared and you need to fill in each of them. Otherwise Fedora Contributor License Agreement page will be displayed. Read through the agreement carefully and click I agree if you are happy to do so.
- Now click Save! located at the bottom of this page to save your information.
- The user-view page is appeared and shows the CLA: field as CLA Done.
Subscribe to the Mailing Lists
Main L10n mailing list
- Visit trans mailing list subscribe page and subscribe it.
- You won't be able to send message to the list until you are approved by the admin of the mailing list. You will receive a confirmation email which contains a link to confirm your subscription. Click the link to confirm your subscription.
Your team mailing list
- Visit https://fedoraproject.org/wiki/L10N/Teams and find your language team(s)
- Subscribe the mailing list(s) for your language(s)
Introduce Yourself
- Create a personal page at https://fedoraproject.org/wiki/User:Username.
- Make a short self-introduction to the mailing lists you have subscribed. If you don't know what to introduce, here is a template: https://fedoraproject.org/wiki/L10N_Self_introduction.
The above two steps are very useful for Fedora contributors get to know and contact each other. The second step also helps your language coordinator to identify you and approve you as a translator of the team.
Login to Zanata with your FAS account
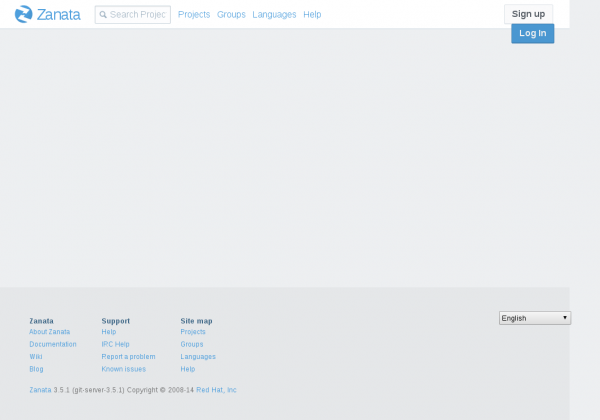
- Open https://fedora.zanata.org/ and click the blue 'Log In' button on the top-right of the page.
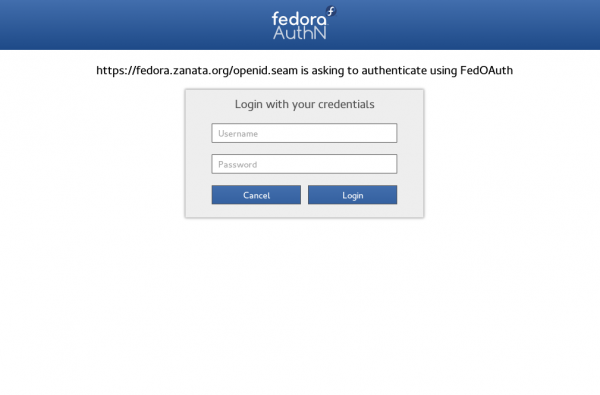
- Then it will guides you to FedOAuth page in which you can Login with your FAS account and password you have registered in last section.
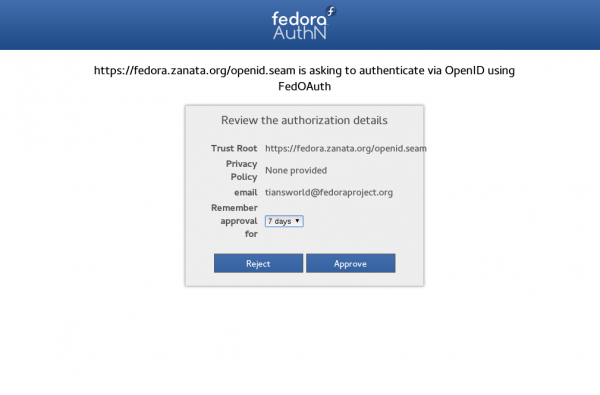
- Then you will be directed to a authentication page, click 'Approve'.
- A 'new user' page will be opened.
You should enter your full name, username(FAS username) and your email address. Note: Please use your true email address but not your Fedora project alias(username@fedoraproject.org). When you finish them, click the Save button. A activation email will be sent immediately to your email address. Please find the mail in your inbox and open the activation link that is provided in the mail. Then login with your FAS username and password. You won't need to follow this step again when you login next time. It's only necessary for new user login.
Translating
Translating online on Zanata
Translating offline
There are two methods that allow you to translate offline:
Method 1: Zanata-cli
1. Installing zanata-cli
Go to http://zanata.org/help/
Under “Cli” - Select “Installing the client ”
You can install the client in two ways:
- install from yum if you are using Fedora by running the following command:
sudo yum install zanata-client
- or install with Ivy:
Click on the “Zanata Ivy Client on github” link
Run the appropriate command depending on the system you use (Fedora, RHEL or other systems)
Once Ivy installed, click the zanata-cli file.
Copy and paste the content of the executable file into you text editor and save as “zanata-cli”.
2. Configuring the client
Configuring the client requires two actions:
2.1 Configuring the user:
Start by creating or opening zanata.ini in ~/.config/ with your preferred text editor.
Two steps:
2.1.1. Creation of an API key
From your Zanata account, go to your dashboard and click “Settings”.
Then select Client
If you do not have one, generate an API key.
2.1.2. Copy the contents of the text-box labeled “Configuration [zanata.ini]” into your previously created zanata.ini file and save the file.
2.2 Configuring the project:
To add project-version configuration to your project directory, navigate to your translation project in Zanata, for example:
Fedora Installation Guide - f20 - select your locale - on the upper right corner, click the arrow and select “Download config file”
Save the zanata.xml file in your preferred location.
3. Downloading the files to your machine
Before running the following command in your command-line, make sure you are in the directory containing the zanata.xml file.
Run:
zanata-cli pull -s src -t trans -l <language code> --pull-type both
The source and translated files will be created into src (source) and trans (translated) files in your directory.
You can now open your files with your preferred translation editor and translate your project.
4. Uploading the files to Zanata
To push the translated files back to Zanata, run the following command:
zanata-cli push -s src -t trans -l <language code> --push-type trans
Your translation has now been pushed back to Zanata and the TM has been updated with your changes.
Method 2: Through the User Interface
Login to https://translate.zanata.org/
Search for your project, for example the Fedora Installation Guide.
Select your language
To download the entire project, click on the arrow located in the top right corner of the page (next to « sort”) and click “Download All (zip) ».
To download one file only, click on the arrow located on the left of the filename, and select “Download Translated [.po]. ”
Save the file to your preferred location.
Translate the file.
Once finished, upload the file(s) back to Zanata, selecting “Upload translation”.
Note: Although it is possible to download a whole project, the upload is only possible file by file, by clicking the arrow located on the left of the filename, and selecting “Upload translation”.


