Here we describe the manual (step by step) process to setup Foreman for Openstack deployment
Smart-Proxy
We need to link Foreman and Foreman-proxy them together.
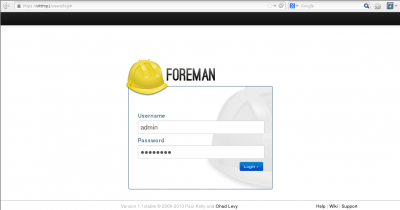
First, let's log into Foreman GUI:
From the menu located on the top end right:
- Select “More -> Configuration -> Smart Proxies”
- Select the “New Proxy” button.
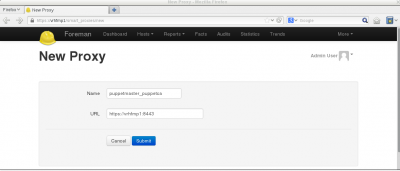
- Add the definitions for a new proxy:
- The name is only a description
- The URL:
- Should match the FQDN of the management host
- Use the smart-proxy port 8443 for SSL
- Select “Submit” button to validate.
For example:
Import OpenStack Puppet Modules
We need to download the Opentstack Puppet modules from the github project. All the OpenStack components are installed from those modules:
git clone --recursive https://github.com/gildub/puppet-openstack-folsom /etc/puppet/modules/production
We import the Puppet modules into Foreman using either:
- The GUI: Select “More -> Configuration -> Puppet classes” and click “Import from <your_smart_proxy>” button:
- Command line:
cd /usr/share/foreman && rake puppet:import:puppet_classes RAILS_ENV=production
Parameters
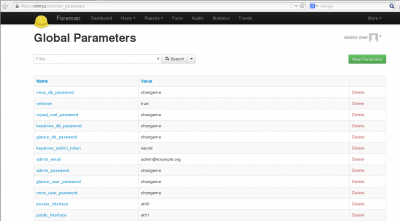
We must provide all the parameters required by the OpenStack puppet modules in order to configure the different components with those values. Here is the list of all the parameters to be defined into Foreman:
| Name | Value |
|---|---|
| nova_db_password | changeme |
| verbose | true |
| mysql_root_password | changeme |
| keystone_db_password | changeme |
| glance_db_password | changeme |
| nova_db_password | changeme |
| keystone_admin_token | secret |
| admin_email | admin@example.org |
| admin_password | changeme |
| glance_user_password | changeme |
| nova_user_password | changeme |
| glance_user_password | changeme |
| private_interface | em1* |
| public_interface | em2* |
| fixed_network_range | 10.100.10.0/24 |
| floating_network_range | 8.21.28.128/25 |
| horizon_secret_key | secret |
| controller_node_public | 10.100.0.2 |
Using Foreman GUI, go to “More -> Configuration -> Global Parameters” and “Add Parameter” in order to create all parameters described in the previous table:
Hosts Groups
Host Groups are an easy way to group Puppet class modules and parameters. A host, when attached to a Host Group automatically inherits those definitions. We manage the two OpenStack types of server using Foreman Host Groups.
So, we need to create two Host Groups:
- OpenStack-Controller
- OpenStack Compute Nodes
To create a Host Group:
- Select the menu entry “More -> Configuration -> Host Groups”
- Provide:
- The name
- The environment: Production is the default
- The smart-proxy: Use the one created previously
So we create the first Host Group, "openstack-controller" and validate by selecting the “Submit” button at the bottom of the page:
We repeat the same operation to create the second Host Group, "openstack-compute":
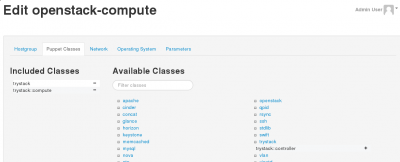
Finally, we need to associate the OpenStack Controller and the OpenStack Compute classes respectively to the two Host Groups we have created.
OpenStack Controller
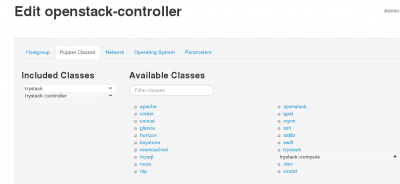
To define the OpenStack Controller Host Group, Edit the OpenStack-Controller Host Group and use the “Puppet Classes” tab and select the "TryStack class". Activate the trystack and trystack::controller classes by clicking on the "+" icon.
OpenStack Compute
To define the OpenStack Compute Host Group, Edit the openStack-compute Host Group and activate the trystack and trystack::compute classes:

